

Why You’ll Love This Buttermilk Pie
This buttermilk pie is a delightful dessert that’s simple to make and full of comforting flavors that everyone in the family can enjoy. With its creamy texture and just the right balance of tang and sweetness, it’s become a go-to recipe for casual gatherings or a quick treat after dinner. I love how it brings a touch of nostalgia while being adaptable to different tastes and dietary needs.
One of the best parts about this recipe is its ease of preparation, using just a few ingredients and straightforward steps that even beginners can handle without any fuss. It’s also packed with health benefits, as buttermilk adds calcium and probiotics that support digestion and bone health, making it a smarter choice for a sweet indulgence. Plus, the pie’s versatility means you can tweak it for various dietary preferences, like using alternative ingredients for vegan or gluten-free versions.
The distinctive flavor profile, with the tangy buttermilk shining through the creamy filling, sets this pie apart from ordinary desserts. Whether you’re serving it at a family meal or as a special occasion treat, it always impresses with its smooth texture and memorable taste. For those looking to explore more baking ideas, you might enjoy our classic banana nut bread recipe that pairs perfectly with this pie.
To make this pie even more appealing, consider how it fits into busy lifestyles it’s quick to assemble and bakes while you handle other tasks. The nutritional edge from ingredients like eggs and buttermilk adds a wholesome twist, helping you feel good about sharing it with loved ones. All in all, this buttermilk pie is sure to become a favorite in your kitchen for its simplicity and delicious results.
Jump to:
- Why You’ll Love This Buttermilk Pie
- Essential Ingredients for Buttermilk Pie
- Main Ingredients
- Special Dietary Options
- How to Prepare the Perfect Buttermilk Pie: Step-by-Step Guide
- Dietary Substitutions to Customize Your Buttermilk Pie
- Mastering Buttermilk Pie: Advanced Tips and Variations
- How to Store Buttermilk Pie: Best Practices
- FAQs: Frequently Asked Questions About Buttermilk Pie
- How should I store buttermilk pie after baking?
- Can I use a homemade pie crust for buttermilk pie?
- What can I do if my pie crust is browning too quickly during baking?
- Should I use low-fat or whole buttermilk in buttermilk pie?
- How long does buttermilk pie need to bake for a perfect set?
- Buttermilk Pie
- Ingredients
- Instructions
- Last Step:
- Notes
- Nutrition
- Did you make this recipe?
Essential Ingredients for Buttermilk Pie
Gathering the right ingredients is key to making a perfect buttermilk pie, and I’ll walk you through everything you need in a clear list. This recipe focuses on fresh, everyday items that blend together for a creamy and flavorful result. Let’s break it down so you can shop and prep with ease.
Main Ingredients
- 1 9-inch pastry crust
- ½ cup softened butter
- 1¼ cups sugar
- 3 tablespoons all-purpose flour
- ¼ teaspoon salt
- 3 large eggs
- 1 cup buttermilk
- 1 tablespoon lemon juice
- 1 teaspoon vanilla extract
Special Dietary Options
If you have specific dietary needs, don’t worry there are easy swaps to keep the pie just as tasty. For instance, if you’re going vegan, try using almond milk mixed with lemon juice in place of buttermilk, along with flax eggs instead of regular ones. For gluten-free versions, swap the pastry crust for a store-bought gluten-free option, and if you’re watching calories, opt for a reduced-sugar alternative or low-fat buttermilk to maintain that classic creamy feel.
| Ingredient Type | Original Option | Substitution Idea |
|---|---|---|
| Buttermilk | 1 cup buttermilk | Almond milk with lemon juice |
| Eggs | 3 large eggs | Flaxseed meal mixed with water |
| Flour | 3 tablespoons all-purpose flour | Gluten-free flour blend |
Remember, these ingredients work together to create the pie’s signature texture, so measuring accurately is important for the best outcome. If you’re new to substitutions, check out our buttermilk substitute guide for more tips on adapting recipes like this one.
How to Prepare the Perfect Buttermilk Pie: Step-by-Step Guide
Getting started with this buttermilk pie is straightforward, and I’ll guide you through each step to ensure success in your kitchen. Begin by preheating your oven, then move on to mixing the ingredients for a smooth filling. Follow along, and you’ll have a delicious pie ready in no time.
First, set your oven to 350°F (175°C) and fit the 9-inch pastry crust into a pie pan, pricking the bottom to avoid air bubbles. In a bowl, whisk the 3 large eggs with 1¼ cups sugar until it’s light and fluffy, which helps build the pie’s creamy base. Next, blend in the ½ cup softened butter and 1 teaspoon vanilla extract for added richness.
Then, gently stir in the 1 cup buttermilk, 3 tablespoons all-purpose flour, ¼ teaspoon salt, and 1 tablespoon lemon juice until everything combines into a lump-free batter. Pour this mixture into your prepared crust, making sure it’s evenly distributed. Bake for 45-50 minutes until the filling sets and the crust turns golden, keeping an eye on it to adjust for any substitutions like vegan options.
Once baked, let the pie cool on a rack before slicing to achieve the perfect texture. This step-by-step approach makes it simple, even if you’re baking on a weeknight. With practice, you’ll find ways to make this recipe your own while enjoying the fresh flavors.

Dietary Substitutions to Customize Your Buttermilk Pie
Customizing your buttermilk pie for different diets is easy and keeps the taste intact, so everyone can enjoy it. Whether you’re avoiding certain ingredients or experimenting with flavors, small changes make a big difference. Let’s look at some practical swaps to fit your needs.
- Swap eggs with flaxseed meal or aquafaba if you’re following a vegan diet, as these help bind the filling just as well.
- Use plant-based milk like soy or oat milk mixed with a bit of acid for that tangy buttermilk effect.
- Add spices such as cinnamon or nutmeg to enhance the flavor without altering the base recipe.
- Incorporate citrus zest, like from a lemon or orange, to brighten up the pie’s taste for a fresher twist.
- Opt for almond flour instead of all-purpose flour for gluten-free versions, ensuring the pie holds its shape.
These modifications allow you to adapt the pie while keeping it delicious and approachable. For example, if you’re reducing sugar, try natural sweeteners like honey to maintain that sweet-tang balance.
Mastering Buttermilk Pie: Advanced Tips and Variations
Once you’re comfortable with the basic recipe, you can take your buttermilk pie to the next level with some pro tips and creative ideas. Tempering the eggs by slowly adding the warm buttermilk mixture prevents curdling and results in a silky smooth filling. Experimenting with flavors, like tossing in fresh berries or a hint of lemon zest, adds a fun twist without complicating things.
For presentation, top your pie with whipped cream or fresh fruit to make it look as good as it tastes, ideal for parties or family dinners. If you’re planning ahead, bake the pie and store it in the fridge for up to three days, or freeze it for longer the flavors actually improve over time. These techniques help turn a simple dessert into something truly special for any occasion.
How to Store Buttermilk Pie: Best Practices
Proper storage keeps your buttermilk pie fresh and tasty, so let’s cover the basics to extend its shelf life. After baking and cooling, place the pie in the fridge to maintain its creamy texture. Wrapping it tightly prevents it from drying out, making it easy to enjoy leftovers.
- Refrigerate the pie covered for up to 4 days to keep it safe and flavorful.
- Freeze it by wrapping in plastic and foil for up to 2 months, then thaw overnight in the fridge.
- Reheat gently at 300°F (150°C) for 10-15 minutes if you want to serve it warm.
- Prepare in advance by making multiple pies and freezing portions for quick desserts later.
This method ensures your pie stays delicious, whether you’re prepping for a busy week or saving some for later treats.
For more on ingredient swaps, here’s a great resource: another buttermilk pie recipe with helpful tips.
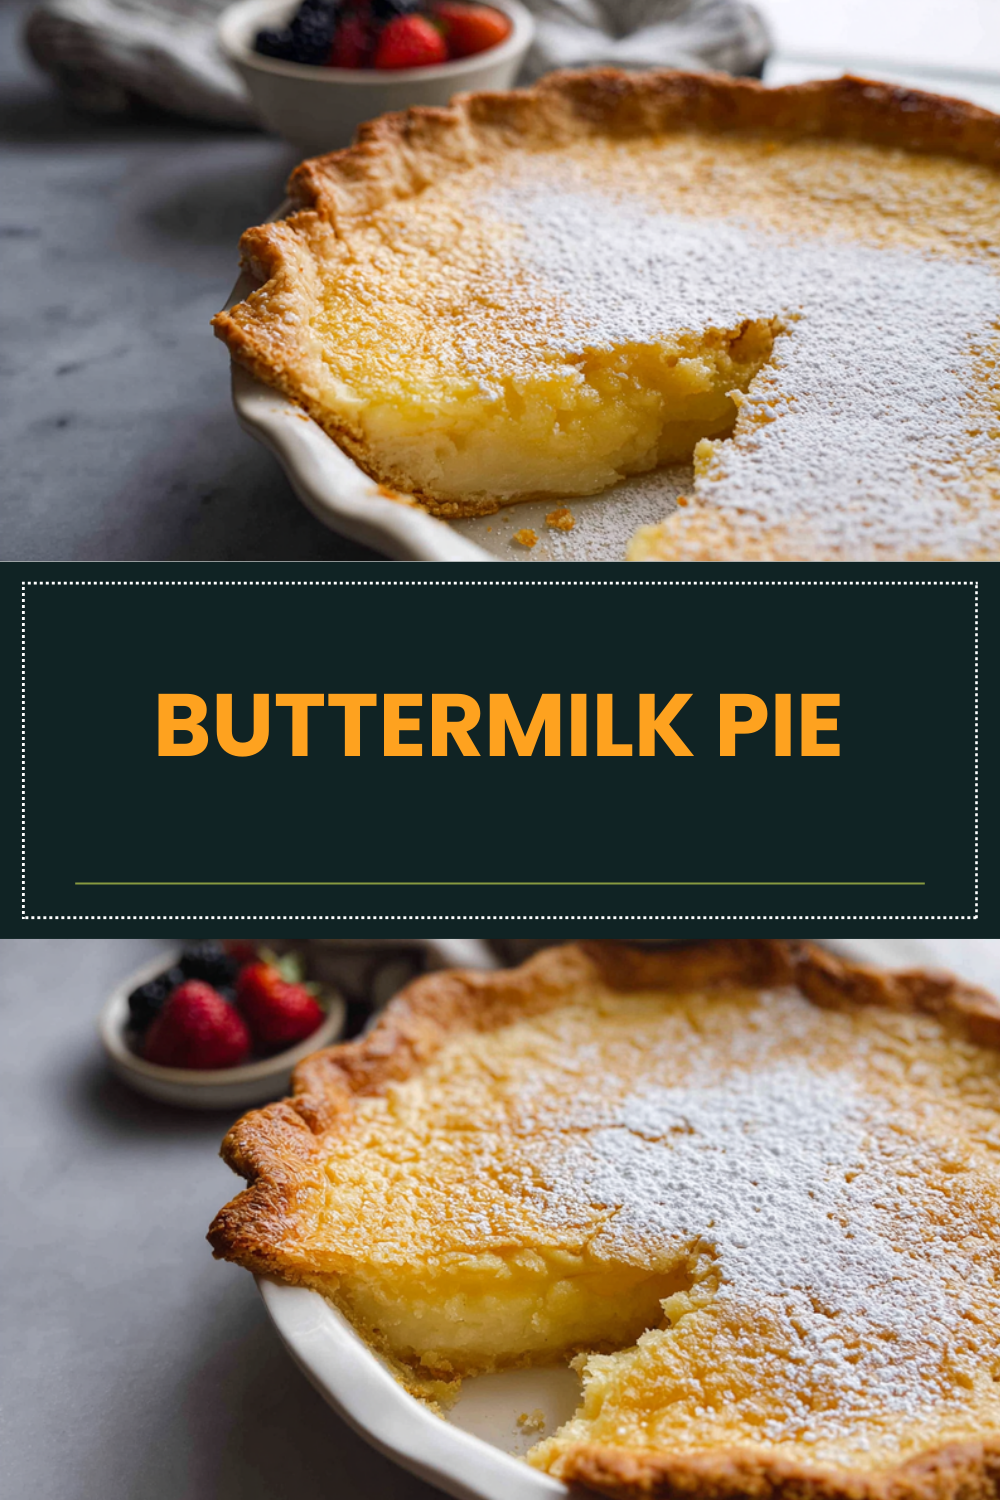
FAQs: Frequently Asked Questions About Buttermilk Pie
How should I store buttermilk pie after baking?
Buttermilk pie should be refrigerated after it cools. While it’s safe to leave the pie out at room temperature for up to two hours, keeping it chilled helps prevent spoilage and maintains the best texture. Store the pie tightly covered with plastic wrap or foil in the refrigerator, and it will stay fresh for up to 4 days.
Can I use a homemade pie crust for buttermilk pie?
Yes, a homemade pie crust works perfectly for buttermilk pie. Whether you prefer a traditional flaky crust or a graham cracker crust, just make sure the crust is unbaked before adding the filling. This allows the crust to bake fully with the filling, resulting in the ideal balance of crispness and flavor.
What can I do if my pie crust is browning too quickly during baking?
If the edges of your crust start to brown before the filling is set, cover the crust’s edges with foil or use a pie crust shield. This protects the crust from burning while allowing the center to bake evenly. Remove the shield or foil during the last 10 to 15 minutes of baking if you want the crust edges to crisp up slightly.
Should I use low-fat or whole buttermilk in buttermilk pie?
You can choose either low-fat or whole cultured buttermilk for buttermilk pie. Whole buttermilk adds a slightly richer texture and fuller flavor, but the difference is subtle. If you only have low-fat buttermilk on hand, your pie will still have the classic tangy taste and creamy consistency.
How long does buttermilk pie need to bake for a perfect set?
Buttermilk pie typically bakes between 50 to 60 minutes at 350°F (175°C). The pie is done when the filling is mostly set but still has a slight jiggle in the center. Overbaking can cause cracks or a dry texture, so keep a close eye during the last 10 minutes to achieve the smooth, creamy filling that defines this dessert.
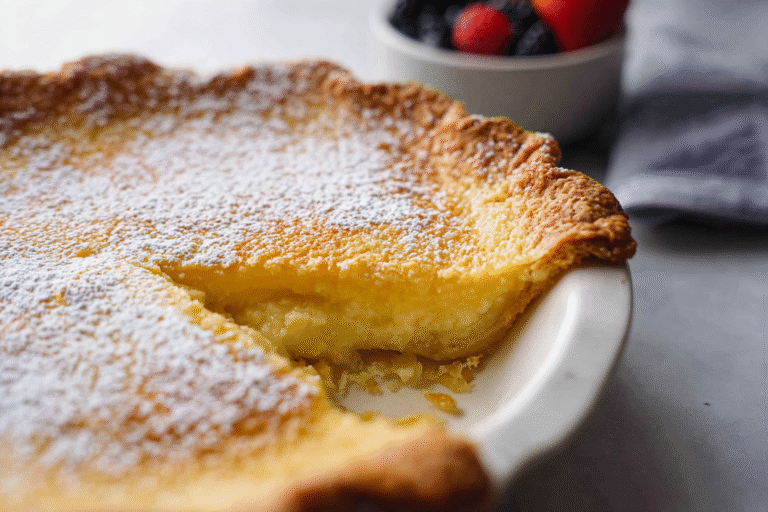
Buttermilk Pie
🥧 This Buttermilk Pie Recipe offers a classic and creamy dessert that’s simple to make and richly satisfying.
🍋 Made with easy steps and familiar ingredients, it’s perfect for both beginners and seasoned bakers alike.
- Total Time: 2 hours 10 minutes
- Yield: 8 servings 1x
Ingredients
1 9-inch pastry crust
½ cup softened butter
1¼ cups sugar
3 tablespoons all-purpose flour
¼ teaspoon salt
3 large eggs
1 cup buttermilk
1 tablespoon lemon juice
1 teaspoon vanilla extract
Instructions
1-First, set your oven to 350°F (175°C) and fit the 9-inch pastry crust into a pie pan, pricking the bottom to avoid air bubbles.
2-In a bowl, whisk the 3 large eggs with 1¼ cups sugar until it’s light and fluffy, which helps build the pie’s creamy base.
3-Next, blend in the ½ cup softened butter and 1 teaspoon vanilla extract for added richness.
4-Then, gently stir in the 1 cup buttermilk, 3 tablespoons all-purpose flour, ¼ teaspoon salt, and 1 tablespoon lemon juice until everything combines into a lump-free batter.
5-Pour this mixture into your prepared crust, making sure it’s evenly distributed.
6-Bake for 45-50 minutes until the filling sets and the crust turns golden, keeping an eye on it to adjust for any substitutions like vegan options.
7-Once baked, let the pie cool on a rack before slicing to achieve the perfect texture.
Last Step:
Please leave a rating and comment letting us know how you liked this recipe! This helps our business to thrive and continue providing free, high-quality recipes for you.Notes
🥄 Use room temperature ingredients to help the filling blend smoothly.
🍋 Add a little extra lemon juice for a tangier flavor.
⏳ Allow the pie to cool completely for the best texture before slicing.
- Prep Time: 15 minutes
- Cooling time: 1 hour
- Cook Time: 55 minutes
- Category: Dessert
- Method: Baking
- Cuisine: American
- Diet: Vegetarian
Nutrition
- Serving Size: 1 slice (1/8 of pie)
- Calories: 350 kcal
- Sugar: 35 g
- Sodium: 150 mg
- Fat: 18 g
- Saturated Fat: 11 g
- Unsaturated Fat: 6 g
- Trans Fat: 0.5 g
- Carbohydrates: 45 g
- Fiber: 1 g
- Protein: 4 g
- Cholesterol: 110 mg





