

Why You’ll Love This Stabilized Whipped Cream
Once you try this stabilized whipped cream, it quickly becomes a go-to for anyone looking to add a creamy touch to their desserts. This recipe stands out because it’s simple and fast, making it ideal for home cooks who want reliable results without much fuss. With just a few ingredients, you can create a topping that holds its shape longer than regular whipped cream.
One of the best parts is how it fits into everyday life, whether you’re a busy parent whipping up a quick treat or a baking enthusiast experimenting with new flavors. It offers flexibility for different needs, like swapping ingredients for a lighter version. This makes stabilized whipped cream a smart choice for enhancing everything from cakes to fruit salads.
Beyond ease, this whipped cream brings a delightful balance of flavors that can brighten any dish. Imagine the smooth texture pairing perfectly with your favorite baked goods, adding that extra wow factor to your meals. It’s no wonder so many people love using it for special occasions or simple snacks, as it keeps things fresh and fun in the kitchen.
Key Benefits and Uses
This stabilized whipped cream recipe shines with its health-conscious options, allowing you to tweak it for lower calories or dairy-free preferences. For instance, you can enjoy the creamy goodness while sticking to a balanced diet, which is great for diet-conscious individuals and families. Its adaptability means it’s not just for desserts; think topping smoothies or stirring into coffee for a luxurious twist.
Many home cooks appreciate how it works for various diets, including vegan and gluten-free, by making easy swaps. This versatility extends to events like parties, where it holds up well under lights and chatter. Indeed, stabilized whipped cream can turn ordinary moments into something memorable, perfect for travelers or seniors seeking simple joys in their routines.
From students grabbing a quick study snack to working professionals prepping ahead, this recipe fits seamlessly into busy schedules. You’ll find it enhances the experience of baking, like adding it to muffins for extra flair. For more ideas on incorporating whipped cream into baked treats, check out our guide on delicious banana chocolate chip muffins that pair wonderfully with it.
Jump to:
- Why You’ll Love This Stabilized Whipped Cream
- Key Benefits and Uses
- Essential Ingredients for Stabilized Whipped Cream
- Special Dietary Options
- How to Prepare the Perfect Stabilized Whipped Cream: Step-by-Step Guide
- Finishing Touches
- Dietary Substitutions to Customize Your Stabilized Whipped Cream
- Seasonal and Flavor Ideas
- Mastering Stabilized Whipped Cream: Advanced Tips and Variations
- Pro Tips for Success
- How to Store Stabilized Whipped Cream: Best Practices
- Longevity Tips
- FAQs: Frequently Asked Questions About Stabilized Whipped Cream
- Can I use stabilized whipped cream to frost a cake and will it hold up without melting quickly?
- How long can I prepare stabilized whipped cream before piping it onto desserts?
- Can I add fresh fruit or fruit puree to stabilized whipped cream without making it runny?
- Is stabilized whipped cream suitable for filling cake layers, especially in multi-tier cakes?
- Can I flavor stabilized whipped cream with ingredients like lemon zest or cocoa powder without affecting its texture?
- Stabilized Whipped Cream
- Ingredients
- Instructions
- Last Step:
- Notes
- Nutrition
- Did you make this recipe?
Essential Ingredients for Stabilized Whipped Cream
Gathering the right ingredients is the first step to making perfect stabilized whipped cream. This section lists everything you need, based on a reliable recipe that ensures great results every time. Focus on using fresh, high-quality items to achieve that ideal texture and flavor.
- 12 ounces cold heavy whipping cream
- 2 ounces powdered sugar
- 1 teaspoon gelatin
- 1.5 tablespoons cold water
- 1 teaspoon vanilla extract
- 1 teaspoon heavy whipping cream
This structured list covers all the essentials, so you have exactly what’s required without any guesswork. Each measurement is precise to help you get consistent outcomes, whether you’re a beginner or an experienced baker. Remember, cold ingredients are key for the best whipping results.
Special Dietary Options
If you need to adapt this recipe, consider options like using coconut cream instead of heavy whipping cream for a vegan version. This way, you can still enjoy the creamy texture while meeting dietary preferences. Powdered sugar and gelatin remain versatile, but always check for any needed adjustments to keep things gluten-free.
For Learn more about whipped cream techniques that compliment various diets, check out this external resource. It’s a helpful guide for refining your skills and exploring more ideas.
How to Prepare the Perfect Stabilized Whipped Cream: Step-by-Step Guide
Getting started with stabilized whipped cream is straightforward and rewarding. Begin by chilling your mixing bowl and beaters in the freezer for at least 15 minutes; this helps the cream whip up nicely and hold its shape. Once everything is cold, you’re ready to mix your ingredients with ease.
Sprinkle the gelatin over the 1.5 tablespoons of cold water and let it sit for 5 minutes to bloom. This step is crucial as it activates the gelatin, which stabilizes the cream. Next, melt the gelatin in the microwave for 5 seconds, and if needed, add another 3 seconds until it’s fully dissolved and clear.
Add 1 teaspoon of heavy whipping cream to the cooled gelatin and stir well; reheat briefly if it starts to solidify. In your cold mixing bowl, pour in the 12 ounces of heavy whipping cream and whip at medium speed for about 15 seconds until it’s foamy. Then, incorporate the 2 ounces of powdered sugar and 1 teaspoon of vanilla extract, continuing to whip until soft peaks form.
Finishing Touches
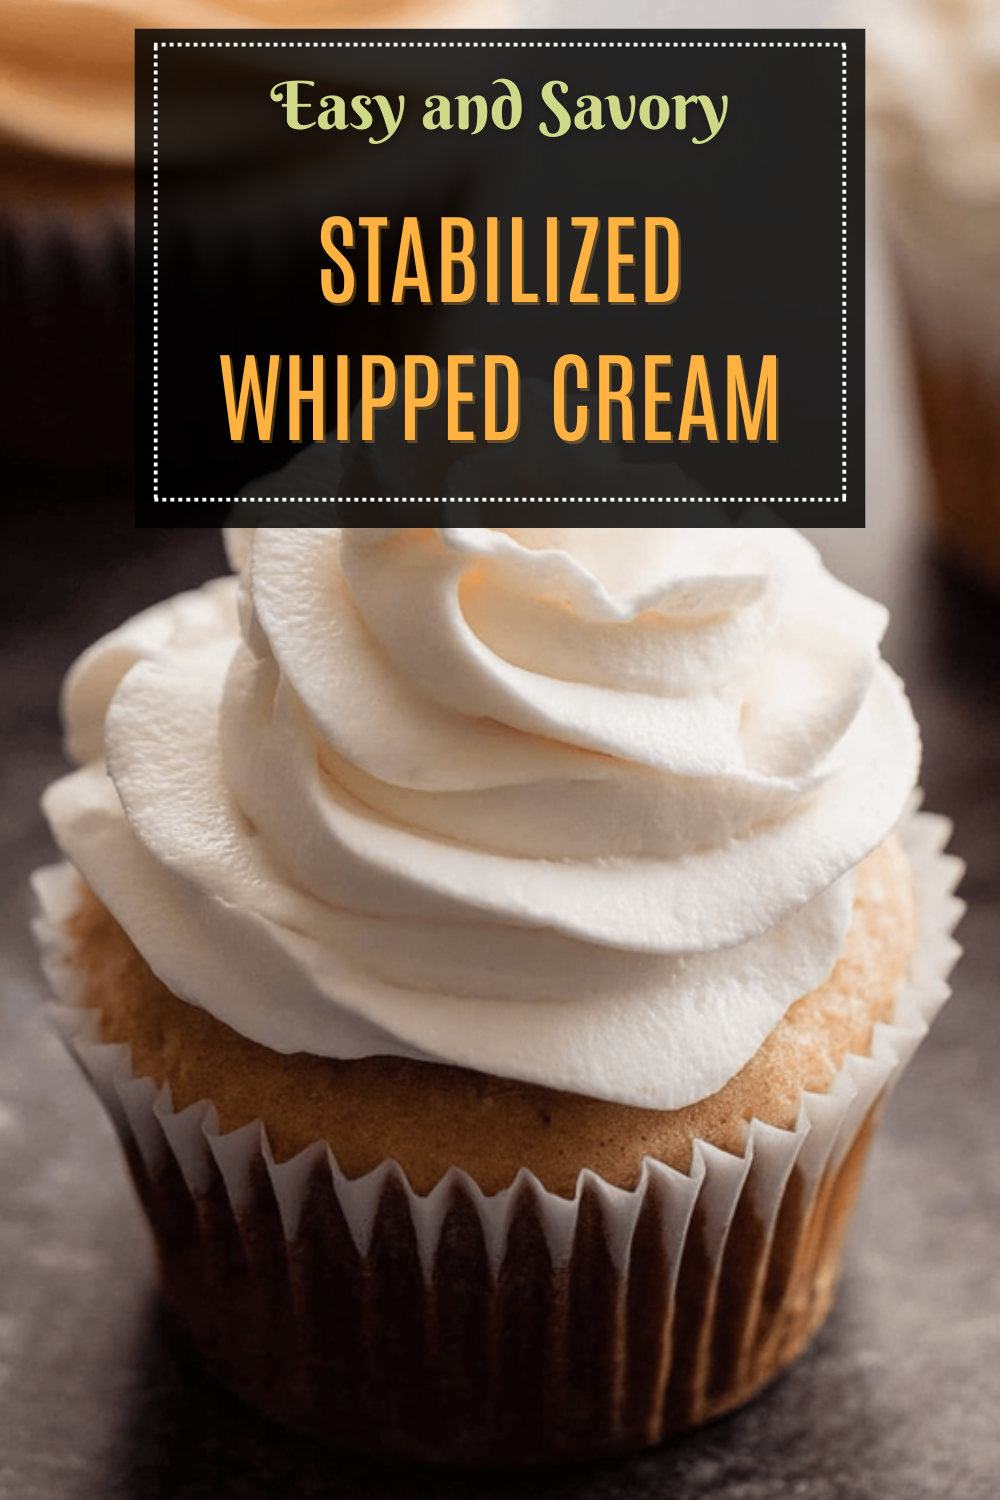
Reduce the mixer speed to low and slowly drizzle in the gelatin mixture while beating. Keep whipping until firm peaks form, but stop before it turns into butter usually just a minute or so. This stabilized whipped cream holds its shape well, making it perfect for decorating. Use it right away for the best results, as noted in the preparation time of about 6 minutes total.
Nutritional information per 1 ounce serving includes 104 calories, 1 gram carbohydrates, 1 gram protein, 10 grams fat, 6 grams saturated fat, 38 milligrams cholesterol, 12 milligrams sodium, 21 milligrams potassium, 1 gram sugar, 415 IU vitamin A, 0.2 milligrams vitamin C, and 18 milligrams calcium. This breakdown helps you make informed choices about your recipes.

Dietary Substitutions to Customize Your Stabilized Whipped Cream
Making stabilized whipped cream your own is easy with a few smart swaps. For vegan diets, swap heavy cream with chilled coconut cream or whipped aquafaba to keep that creamy base. This adjustment maintains the whipping ability while fitting plant-based needs perfectly.
If lactose intolerance is a concern, opt for lactose-free cream or nut-based alternatives to preserve the rich texture. You can also experiment with flavor enhancers like citrus zest or cinnamon for a fresh twist. For gluten-free options, stick with the main ingredients and ensure any additives are safe.
Seasonal and Flavor Ideas
Folding in seasonal fruit purees, such as berries, adds a burst of flavor without messing up the stability. Always drain excess liquid from fruits to avoid making the cream runny. These customizations make the recipe versatile for events like parties or family gatherings.
Mastering Stabilized Whipped Cream: Advanced Tips and Variations
To take your stabilized whipped cream to the next level, focus on technique first. Using a stand mixer ensures even whipping, and always watch for stiff peaks to avoid over-beating. This method helps keep the cream smooth and perfect for your creations.
Experiment with flavors like espresso powder or almond extract to create unique profiles that suit different desserts. For presentation, try piping the cream with decorative tips and garnish with fresh berries. If you’re planning ahead, you can make it up to 24 hours in advance and store it in the fridge.
Pro Tips for Success
Remember to use cold heavy cream and a chilled bowl, as this is key for the best results. Stabilized whipped cream works great for piping on cakes and holds up well for decorating, lasting up to two hours at room temperature. For more baking inspiration, explore our recipe for tasty pumpkin crumb muffins that pair nicely with it.
You can stabilize by hand with a whisk, though it takes longer, and it’s not ideal for covering cakes with fondant. Instead, a mirror glaze might work if the cake is frozen first. These tricks, like not over-mixing, ensure your whipped cream stays creamy and ready for use.
How to Store Stabilized Whipped Cream: Best Practices
Proper storage keeps your stabilized whipped cream fresh and ready. Store it in an airtight container in the fridge for up to 2 days to maintain its texture. Freezing is an option, but it might change the consistency slightly, so use ice cube trays for easy portions.
When you need to use it again, gently re-whip if necessary instead of reheating. For meal prep, make fresh batches where possible and keep it separate from other foods. This approach helps preserve the flavor and structure, making it convenient for busy lifestyles.
Longevity Tips
The cream holds shape for up to three days in the fridge, but use it soon for the best taste. Avoid reusing leftovers once set, as it won’t perform the same. Following these steps ensures your efforts pay off every time.
FAQs: Frequently Asked Questions About Stabilized Whipped Cream
Can I use stabilized whipped cream to frost a cake and will it hold up without melting quickly?
Yes, stabilized whipped cream can be used to frost a cake, and it holds its shape better than regular whipped cream due to added stabilizers like gelatin or cream of tartar. It’s best stored in the refrigerator and can last for a few hours at room temperature, typically up to 2 hours if the environment is cool. Avoid exposing the cake to direct heat or sunlight to prevent the cream from melting prematurely.
How long can I prepare stabilized whipped cream before piping it onto desserts?
It’s recommended to pipe stabilized whipped cream immediately after making it because it begins to set quickly. While it can hold its shape refrigerated for a few hours, waiting too long before piping may affect the texture and smoothness. For best results, prepare the cream fresh and use it promptly to maintain peak stability.
Can I add fresh fruit or fruit puree to stabilized whipped cream without making it runny?
Yes, you can mix fresh fruit like strawberries or canned peaches into stabilized whipped cream, but be sure to drain any excess liquid from the fruit first to prevent the cream from becoming watery. When adding fruit puree, use a small amount of a reduced thick puree to avoid loosening the whipped cream’s texture.
Is stabilized whipped cream suitable for filling cake layers, especially in multi-tier cakes?
Stabilized whipped cream works well as a filling between cake layers and offers a light texture. However, it is not as sturdy as buttercream and may not provide enough support for tall or multi-tiered cakes. For those, consider combining stabilized whipped cream with other fillings or using it mainly in single or double-layer cakes.
Can I flavor stabilized whipped cream with ingredients like lemon zest or cocoa powder without affecting its texture?
Yes, adding flavorings such as lemon zest, vanilla extract, or cocoa powder will not negatively impact the texture or stability of the whipped cream. Avoid liquid lemon juice because it can thin the cream. Instead, use extracts or zest for safe, flavorful enhancements. Cocoa powder can be added directly with powdered sugar for a chocolate twist.

Stabilized Whipped Cream
❄️ Enjoy the creamy richness of stabilized whipped cream that holds its texture longer, perfect for decorating cakes and desserts.
🍰 This recipe provides easy tips to achieve a smooth, firm whipped cream that resists melting and weeping.
- Total Time: 6 minutes
Ingredients
– 12 ounces cold heavy whipping cream
– 2 ounces powdered sugar
– 1 teaspoon gelatin
– 1.5 tablespoons cold water
– 1 teaspoon vanilla extract
– 1 teaspoon heavy whipping cream
Instructions
1-Getting started with stabilized whipped cream: Begin by chilling your mixing bowl and beaters in the freezer for at least 15 minutes; this helps the cream whip up nicely and hold its shape. Once everything is cold, you’re ready to mix your ingredients with ease.
2-Sprinkle the gelatin over the 1.5 tablespoons of cold water and let it sit for 5 minutes to bloom. This step is crucial as it activates the gelatin, which stabilizes the cream. Next, melt the gelatin in the microwave for 5 seconds, and if needed, add another 3 seconds until it’s fully dissolved and clear.
3-Add 1 teaspoon of heavy whipping cream to the cooled gelatin and stir well; reheat briefly if it starts to solidify. In your cold mixing bowl, pour in the 12 ounces of heavy whipping cream and whip at medium speed for about 15 seconds until it’s foamy. Then, incorporate the 2 ounces of powdered sugar and 1 teaspoon of vanilla extract, continuing to whip until soft peaks form.
4-Finishing Touches: Reduce the mixer speed to low and slowly drizzle in the gelatin mixture while beating. Keep whipping until firm peaks form, but stop before it turns into butter usually just a minute or so. This stabilized whipped cream holds its shape well, making it perfect for decorating. Use it right away for the best results, as noted in the preparation time of about 6 minutes total.
Last Step:
Please leave a rating and comment letting us know how you liked this recipe! This helps our business to thrive and continue providing free, high-quality recipes for you.Notes
❄️ Use cold heavy cream and a chilled bowl for best volume and texture.
⏳ Avoid over-mixing to prevent turning whipped cream into butter.
🚫 Leftover stabilized whipped cream cannot be reused once set.
- Prep Time: 6 minutes
- Gelatin bloom time: 5 minutes
- Cook Time: 1 minute
- Category: Dessert, Frosting
- Method: Whipping
Nutrition
- Serving Size: 1 ounce
- Calories: 104
- Sugar: 1 g
- Sodium: 12 mg
- Fat: 10 g
- Saturated Fat: 6 g
- Carbohydrates: 1 g
- Protein: 1 g
- Cholesterol: 38 mg





