

Why You’ll Love This Pear Dump Cake
Pear dump cake is a straightforward dessert that brings together fresh pears, warm spices, and simple ingredients for a treat anyone can enjoy. It’s especially popular during fall when pears are at their peak, making it a cozy choice for busy nights or family gatherings. Let’s dive into what makes this recipe a go-to option for home cooks like you.
This recipe stands out for its ease of preparation. You only need a few basic items and about 15 minutes to get everything ready, which is perfect if you’re juggling a hectic schedule or cooking for kids. Plus, with a total time of around 1 hour and 5 minutes including baking, you can whip it up without spending all evening in the kitchen.
Another reason to try pear dump cake is its health perks. Fresh pears pack in vitamins, fiber, and antioxidants that support your overall wellness, turning this sweet into a smarter choice for your diet. The natural sweetness from the pears means you don’t need much added sugar, making it feel like a guilt-free indulgence after a meal.
You’ll appreciate how versatile this dessert can be. Whether you’re adapting it for dietary needs or experimenting with flavors, it’s easy to swap in options like gluten-free cake mix or even apples instead of pears. That flexibility helps it fit into your lifestyle, whether you’re a student grabbing a quick snack or a parent hosting a party.
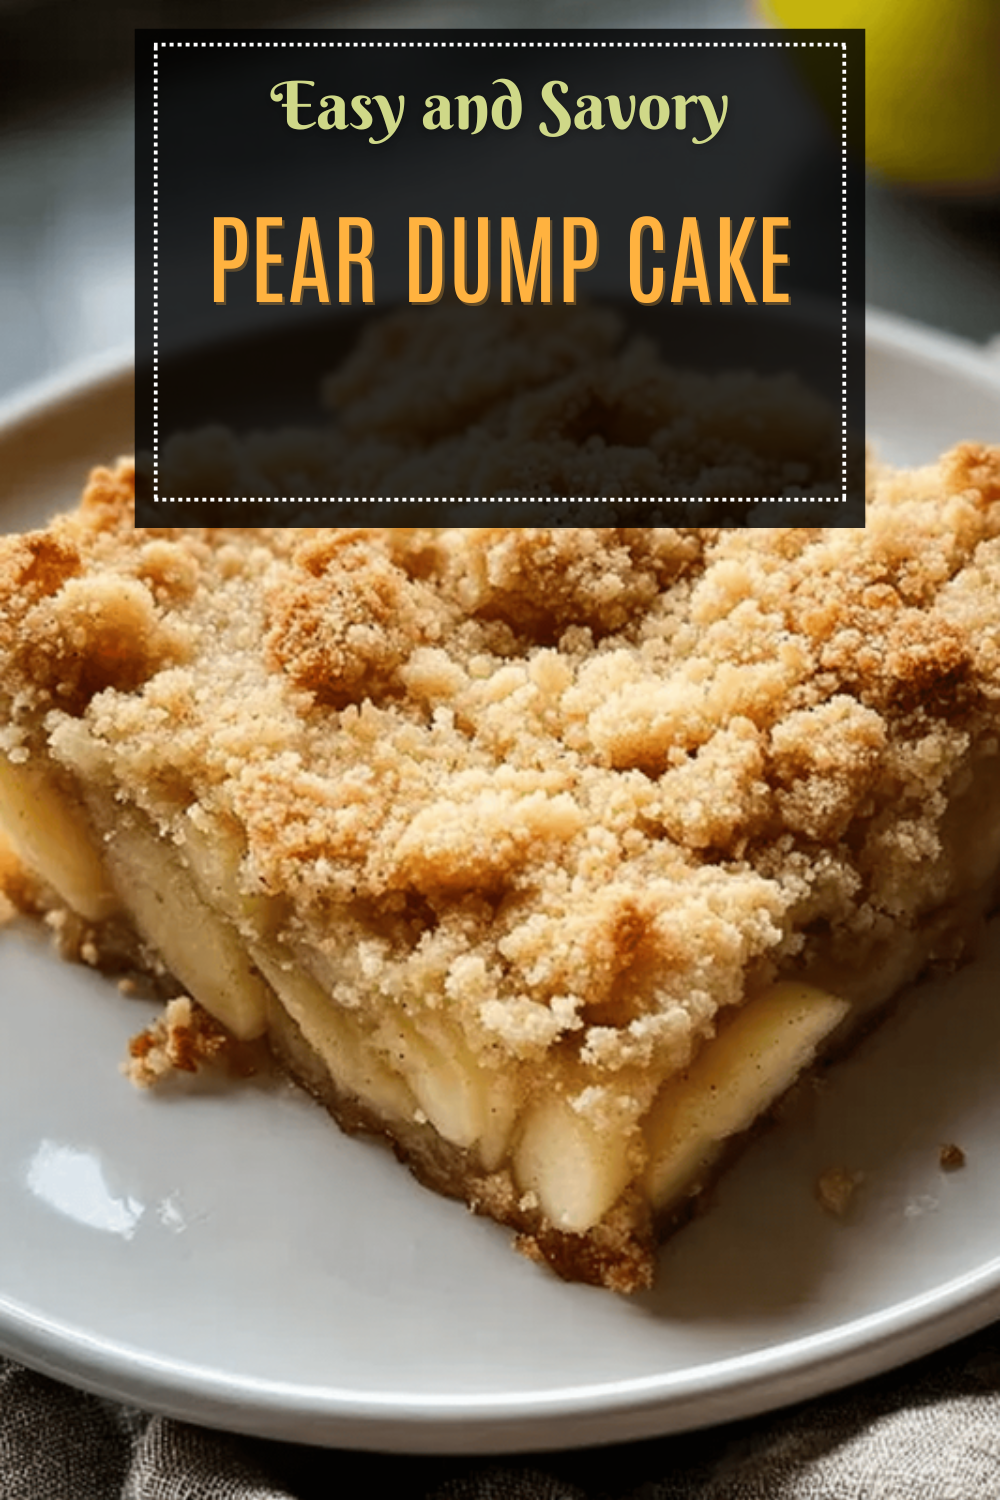
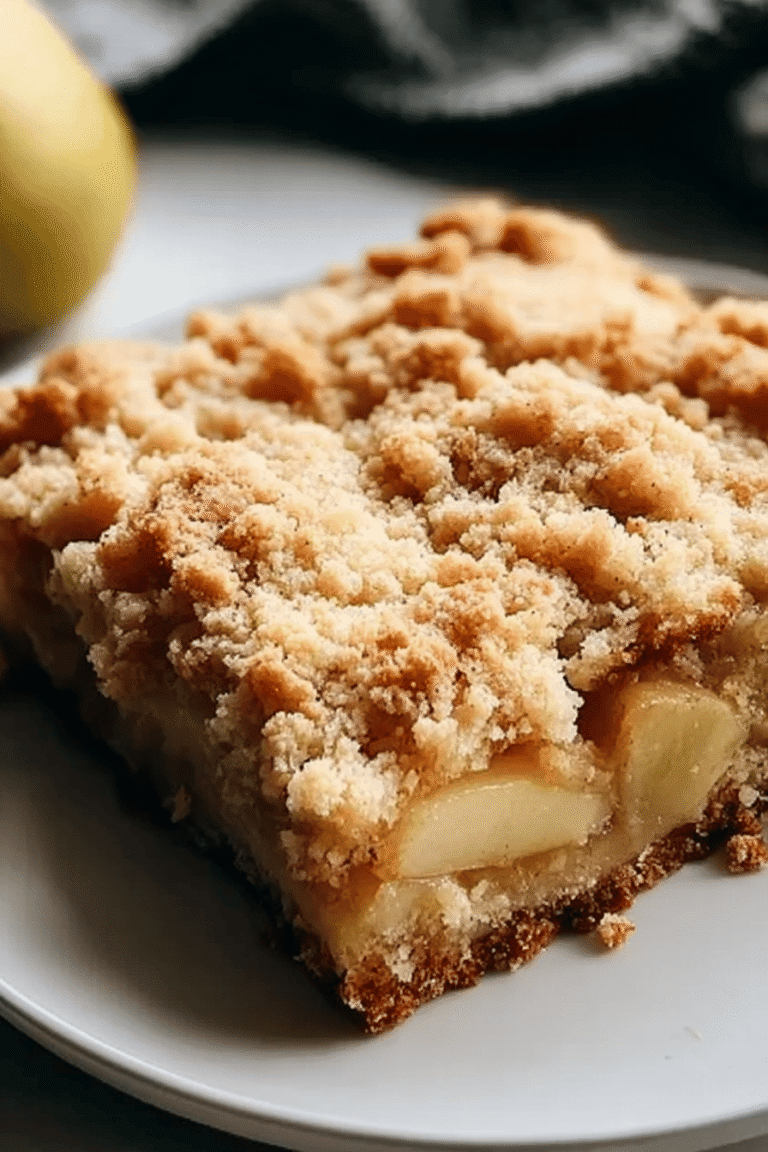
This cake delivers a distinctive flavor that combines juicy pears with cinnamon and brown sugar for a warm, comforting taste. The layers stay separate for a soft bottom and crispy top, creating a texture that’s fun and satisfying. For home cooks exploring fruit-based desserts, this pear dump cake adds a fresh twist that might just become your new favorite.
Jump to:
- Why You’ll Love This Pear Dump Cake
- Essential Ingredients for Pear Dump Cake
- How to Prepare the Perfect Pear Dump Cake: Step-by-Step Guide
- Dietary Substitutions to Customize Your Pear Dump Cake
- Mastering Pear Dump Cake: Advanced Tips and Variations
- Presentation Ideas
- Variation Options
- How to Store Pear Dump Cake: Best Practices
- FAQs: Frequently Asked Questions About Pear Dump Cake
- Can I use canned pears instead of fresh pears for Pear Dump Cake?
- What type of cake mix works best for Pear Dump Cake?
- How should I store leftover Pear Dump Cake?
- Can Pear Dump Cake be made ahead of time?
- Is Pear Dump Cake gluten-free friendly?
- Pear Dump Cake
- Ingredients
- Instructions
- Last Step:
- Notes
- Nutrition
- Did you make this recipe?
Essential Ingredients for Pear Dump Cake
Gathering the right ingredients is key to making a great pear dump cake. This section breaks down everything you need in a clear list, so you can shop and prepare with ease. We’ve pulled from the best tips to ensure your cake turns out perfect every time.
To make this recipe, focus on fresh, high-quality items that enhance the natural flavors. Here’s the full list of ingredients with exact measurements for one batch. This will help you measure out portions accurately and avoid any kitchen mix-ups.
- 8 pears, peeled, cored, and sliced These provide the juicy base and natural sweetness.
- 3 tablespoons packed light brown sugar Adds a rich, caramel-like flavor to balance the pears.
- 1/2 teaspoon ground cinnamon Brings warm spice that complements the fruit perfectly.
- 1 box yellow cake mix The preferred choice for a light, fluffy topping; about 15.25 ounces typically.
- 1/2 cup (1 stick) melted butter Gives richness and helps create that golden crust on top.
Optional additions like chopped nuts can be included if you want extra crunch. For instance, a handful of pecans mixed with the pears adds texture without overwhelming the dish. Remember, using these ingredients as listed keeps the recipe simple yet delicious for everyone from baking newbies to seasoned pros.
How to Prepare the Perfect Pear Dump Cake: Step-by-Step Guide
Getting started with pear dump cake is all about keeping things simple and fun. This easy guide walks you through each step, so even if you’re new to baking, you’ll feel confident. Preheat your oven and let’s create a dessert that’s ready in no time.
First, set your oven to 350 degrees Fahrenheit to ensure even baking. Take the 8 sliced pears and mix them with 3 tablespoons of packed light brown sugar and 1/2 teaspoon of ground cinnamon in a bowl. This step helps the flavors meld together before you layer them in.
Next, spread the pear mixture evenly in the bottom of an 8×8 inch baking pan. The key here is to keep the layers separate for the best results, so don’t stir everything up. Then, pour the boxed yellow cake mix over the pears, spreading it out smoothly to cover the top.
After that, drizzle the 1/2 cup of melted butter evenly over the cake mix. Make sure it covers the whole surface to get that crispy, golden finish. Pop the pan into the oven and bake for about 50 minutes, or until the top turns a beautiful golden brown and the pears bubble up.
The cake works best when the layers are not mixed, allowing for a soft fruit base and crunchy topping. If you’re linking this to other recipes, check out our maple apple breakfast crisp for more fruit-based ideas. Serve your pear dump cake warm, perhaps with vanilla ice cream, and enjoy the quick prep that fits into your busy day.

Dietary Substitutions to Customize Your Pear Dump Cake
One of the best parts of pear dump cake is how easy it is to tweak for different needs. Whether you’re watching your diet or dealing with allergies, these swaps keep the fun intact. Let’s look at some simple changes you can make right in your kitchen.
For the main components, swap traditional butter with coconut oil or vegan margarine if you’re going plant-based. Instead of yellow cake mix, grab a gluten-free version to make it friendly for those with sensitivities. These options ensure the cake stays moist and tasty without much fuss.
When it comes to veggies, fruits, and seasonings, you can mix in apples or berries alongside the pears for a fresh twist. Try swapping cinnamon with nutmeg for a different spice note, or use seeds instead of nuts to avoid allergies. For more inspiration on fruit variations, our berry breakfast crisp shows how to play with flavors.
These adjustments help maintain the dish’s charm while fitting your preferences. They’re great for busy parents or health-focused folks who want options that taste just as good. With these tips, your pear dump cake can be as unique as you are.
Mastering Pear Dump Cake: Advanced Tips and Variations
Once you’re comfortable with the basics, take your pear dump cake to the next level with these pro tips. Adding a few extras can make your dessert even more impressive for family events or quick treats. For insights on pear nutrition, check out this guide from experts: benefits of pears.
To get a crisper topping, try chilling the melted butter before you drizzle it on the cake mix. This small step can make a big difference in texture. For flavor boosts, add a bit of vanilla extract or mix brown sugar into the cake mix for a caramelized edge that’s hard to resist.
Presentation Ideas
Serve your cake warm with a scoop of vanilla ice cream or whipped cream for a cozy finish. Top it with fresh mint leaves to add a pop of color and contrast. If you’re prepping ahead, assemble everything and chill it overnight, then bake fresh in the morning.
Variation Options
Experiment with add-ins like pecans, mixing them into the pears or sprinkling them on top. If pears aren’t on hand, canned ones work fine without draining, or switch to apples for a seasonal twist. Yellow cake mix is ideal, but white or spice mixes add fun flavors too.
Here’s a quick table to compare mix options:
| Cake Mix Type | Best For | Flavor Notes |
|---|---|---|
| Yellow | Classic pear taste | Buttery and sweet |
| White | Light desserts | Mild and versatile |
| Spice | Warmer flavors | Cinnamon and nutmeg hints |
These variations keep things exciting for baking enthusiasts and party hosts alike. With a little creativity, your pear dump cake can shine at any gathering.
How to Store Pear Dump Cake: Best Practices
Proper storage keeps your pear dump cake tasting fresh, so let’s cover the basics. After enjoying your bake, you’ll want to handle leftovers the right way to preserve that homemade goodness. For more on fruit desserts, visit: everything about pear nutrition.
Keep the cake in an airtight container in the fridge for up to three days. This method locks in moisture and flavor, making it easy to grab a slice later. If you have extras, freeze them wrapped tightly in plastic for up to two months to enjoy on busy days.
When reheating, warm portions in the microwave or oven to bring back that soft texture. For meal prep, make a big batch and portion it out for quick desserts all week. These steps make pear dump cake a smart choice for working professionals and families on the go.
FAQs: Frequently Asked Questions About Pear Dump Cake
Can I use canned pears instead of fresh pears for Pear Dump Cake?
Yes, canned pears can be used as a convenient substitute for fresh pears in Pear Dump Cake. Use one 28-ounce can of sliced or diced pears with juice included to maintain moisture. There’s no need to drain the pears, as the liquid helps keep the dessert moist during baking. Using canned pears saves time without compromising the flavor and texture of your dump cake.
What type of cake mix works best for Pear Dump Cake?
Yellow cake mix is the traditional choice for Pear Dump Cake because its sweet, buttery flavor complements the pears well. However, white cake mix or spice cake mix are also great options. White cake mix offers a lighter taste, while spice cake mix adds warmth with cinnamon and nutmeg, enhancing the dessert’s flavor profile. Choose based on your taste preference or what you have on hand.
How should I store leftover Pear Dump Cake?
Store leftover Pear Dump Cake in an airtight container in the refrigerator to keep it fresh. It’s best to consume leftovers within three days to enjoy optimal flavor and texture. Before serving, you can warm individual portions in the microwave for about 20 seconds to revive the cake’s softness.
Can Pear Dump Cake be made ahead of time?
Yes, Pear Dump Cake can be prepared in advance. Assemble the cake up to the point before baking, cover it tightly with plastic wrap or foil, and refrigerate for up to 24 hours. When ready to serve, bake it according to the recipe instructions, adding a few extra minutes if needed since the batter will be chilled.
Is Pear Dump Cake gluten-free friendly?
Traditional Pear Dump Cake recipes use store-bought cake mix, which usually contains gluten. To make a gluten-free version, select a gluten-free yellow or spice cake mix. Ensure any canned pears and other ingredients are also labeled gluten-free. This approach allows you to enjoy Pear Dump Cake safely if you have a gluten intolerance or allergy.
Pear Dump Cake
🍐 Enjoy a simple and sweet fall dessert that highlights the natural flavor of fresh pears with minimal effort.
⏰ Perfect for quick prep, this Pear Dump Cake delivers comforting warmth and deliciousness that’s easy to make and share.
- Total Time: 1 hour 5 minutes
- Yield: 8 servings
Ingredients
– 8 pears peeled, cored, and sliced These provide the juicy base and natural sweetness
– 3 tablespoons packed light brown sugar Adds a rich, caramel-like flavor to balance the pears
– 1/2 teaspoon ground cinnamon Brings warm spice that complements the fruit perfectly
– 1 box yellow cake mix The preferred choice for a light, fluffy topping; about 15.25 ounces typically
– 1/2 cup (1 stick) melted butter Gives richness and helps create that golden crust on top
Instructions
1-First, set your oven to 350 degrees Fahrenheit to ensure even baking.
2-Take the 8 sliced pears and mix them with 3 tablespoons of packed light brown sugar and 1/2 teaspoon of ground cinnamon in a bowl. This step helps the flavors meld together before you layer them in.
3-Next, spread the pear mixture evenly in the bottom of an 8×8 inch baking pan. The key here is to keep the layers separate for the best results, so don’t stir everything up. Then, pour the boxed yellow cake mix over the pears, spreading it out smoothly to cover the top.
4-After that, drizzle the 1/2 cup of melted butter evenly over the cake mix. Make sure it covers the whole surface to get that crispy, golden finish. Pop the pan into the oven and bake for about 50 minutes, or until the top turns a beautiful golden brown and the pears bubble up.
5-The cake works best when the layers are not mixed, allowing for a soft fruit base and crunchy topping. If you’re linking this to other recipes, check out our maple apple breakfast crisp for more fruit-based ideas. Serve your pear dump cake warm, perhaps with vanilla ice cream, and enjoy the quick prep that fits into your busy day.
Last Step:
Please leave a rating and comment letting us know how you liked this recipe! This helps our business to thrive and continue providing free, high-quality recipes for you.Notes
🌰 Add chopped pecans mixed with pears or sprinkled on top for extra crunch and flavor.
🥫 Use canned pears (un-drained) if fresh pears are not available.
🍏 Substitute apples for pears as an alternative for a different twist.
- Prep Time: 15 minutes
- Bake Time: 50 minutes
- Cook Time: 50 minutes
- Category: Dessert
- Method: Baking
- Cuisine: American
- Diet: Vegetarian
Nutrition
- Serving Size: 1 piece





