

Why You’ll Love This Blood Orange Bars
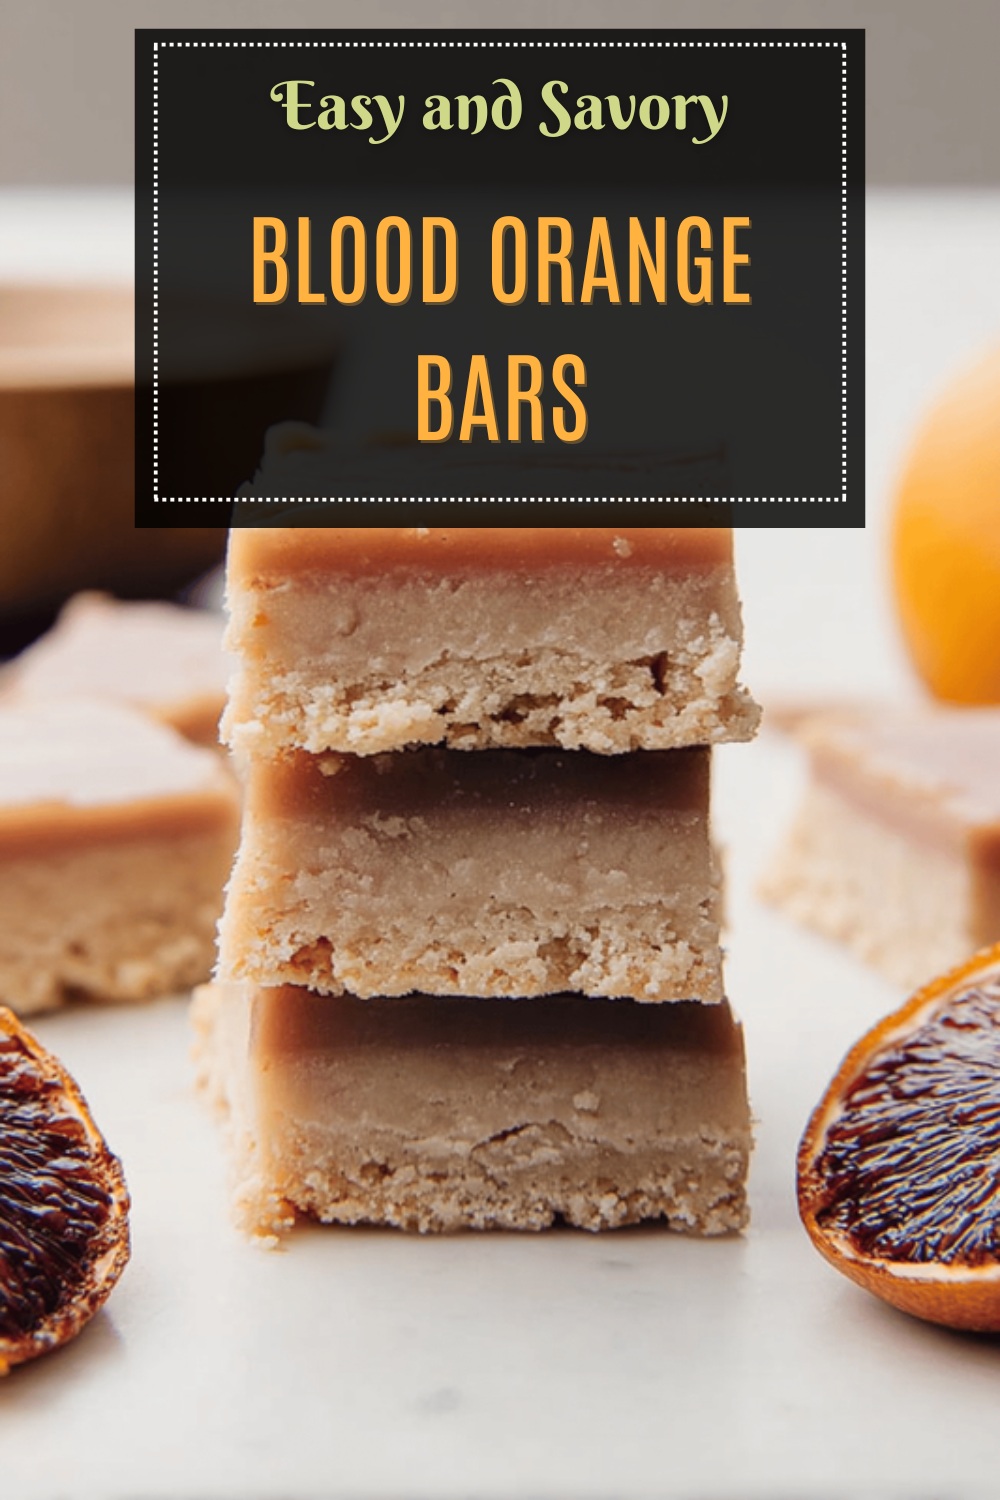
If you’re looking for a simple dessert that packs a punch of flavor, these blood orange bars are just what you need. They come together with ease, making them ideal for anyone from busy parents to baking enthusiasts who want something special without spending hours in the kitchen. Plus, the bright, zesty taste from fresh blood oranges can turn an ordinary day into a little celebration.
One of the best parts is how these bars offer health benefits, like a boost of vitamin C that supports your immune system. They’re versatile too, fitting into various lifestyles, whether you’re trying a vegan twist or keeping things gluten-free. Have you ever bitten into a treat that feels both indulgent and refreshing? That’s exactly what these blood orange bars deliver every time.
- Ease of preparation: This blood orange bars recipe is incredibly simple and quick to make, requiring minimal ingredients and straightforward steps, perfect for busy cooks.
- Health benefits: Packed with vitamin C, antioxidants, and fiber from fresh blood oranges, these bars support immune health and digestion.
- Versatility: Easily adaptable to various dietary needs including vegan, gluten-free, and low-calorie versions without compromising taste.
- Distinctive flavor: The unique, tangy sweetness of blood oranges imparts a refreshing and vibrant flavor profile that sets these bars apart from typical citrus desserts.
To learn more about the health perks of blood oranges, check out this detailed guide that explains their nutrients in a fun way.
Jump to:
- Why You’ll Love This Blood Orange Bars
- Essential Ingredients for Blood Orange Bars
- For the Crust
- For the Filling
- How to Prepare the Perfect Blood Orange Bars: Step-by-Step Guide
- Dietary Substitutions to Customize Your Blood Orange Bars
- Protein and Main Component Alternatives
- Vegetable, Sauce, and Seasoning Modifications
- Mastering Blood Orange Bars: Advanced Tips and Variations
- Pro Cooking Techniques
- Flavor Variations
- Presentation Tips
- Make-Ahead Options
- How to Store Blood Orange Bars: Best Practices
- FAQs: Frequently Asked Questions About Blood Orange Bars
- How long can I store blood orange bars in the refrigerator?
- Can blood orange bars be frozen for later use?
- Do blood orange bars need to be refrigerated if served the same day?
- What is the best way to cut blood orange bars without them crumbling?
- How do blood orange bars differ from traditional lemon bars in flavor and texture?
- Blood Orange Bars
- Ingredients
- Instructions
- Last Step:
- Notes
- Nutrition
- Did you make this recipe?
Essential Ingredients for Blood Orange Bars
Gathering the right ingredients is key to making blood orange bars that turn out just right. This section breaks down everything you need, focusing on fresh, high-quality items to bring out that zesty citrus vibe. I’ll walk you through them in a clear list so you can shop easily and measure accurately.
Ever wonder why certain ingredients work so well together? The combination here creates a perfect balance of tart and sweet that will have you coming back for seconds.
For the Crust
- 1 ½ cups all-purpose flour
- ½ cup powdered sugar
- ¾ cup unsalted butter, softened
For the Filling
- 2 tablespoons blood orange zest (from 1 orange)
- ½ cup blood orange juice (from 2 oranges)
- 1 cup granulated sugar
- 2 tablespoons all-purpose flour
- ¼ teaspoon salt
- 2 large eggs
- Gel food coloring (optional, for color)
- ¼ cup powdered sugar for garnish
These ingredients make about 16 servings and ensure your bars have that buttery crust and tangy filling. If you’re adapting for special diets, think about swapping flour for a gluten-free option, just like in our breakfast bars recipe that shares similar tweaks.
How to Prepare the Perfect Blood Orange Bars: Step-by-Step Guide
Ready to dive into baking these tasty blood orange bars? Follow this easy guide to get professional results right at home. We’ll start with prepping your oven and end with a beautiful finish, making it straightforward for beginners or pros.
Picture pulling a pan of golden bars from the oven that moment is worth it! Let’s go through each step so you can enjoy the process.
- Preheat the oven to 350 degrees and line an 8×8 pan with foil, then spray the foil with nonstick spray.
- Mix the flour, powdered sugar, and softened butter to form a soft dough, and press it evenly into the bottom of the prepared pan.
- Bake the crust for 25 minutes.
- While the crust bakes, combine the blood orange zest, juice, granulated sugar, flour, salt, and eggs in a blender or food processor, and pulse until light and frothy.
- If desired, add gel food coloring to enhance the color.
- After the crust is baked, briefly pulse the filling mixture again and pour it over the hot crust. Bake for an additional 25-30 minutes.
- Remove from the oven and cool completely to room temperature.
- Sprinkle powdered sugar on top before serving.
- If not serving immediately, cool and refrigerate; before serving chilled bars, blot the top and add powdered sugar.
This method keeps things simple and fun, and for more baking ideas, check out our banana chocolate chip muffins page for extra tips on mixing batters.

Dietary Substitutions to Customize Your Blood Orange Bars
Everyone has different needs, so customizing your blood orange bars is a great way to make them fit your lifestyle. Whether you’re going vegan or cutting calories, small changes can keep the flavor spot on. Let’s look at some easy swaps that won’t disappoint.
It’s like giving your recipe a personal twist have you tried mixing things up in your kitchen before? These options make it even more enjoyable.
Protein and Main Component Alternatives
- Replace eggs with flaxseed or chia seed eggs to accommodate vegans.
- Use plant-based butter alternatives for a dairy-free version.
- For gluten-free diets, swap traditional flour with almond flour or a gluten-free mix.
Vegetable, Sauce, and Seasoning Modifications
- Enhance flavor with a dash of grated ginger or cardamom for spice variations.
- Add a teaspoon of vanilla extract or almond extract for aromatic complexity.
- Substitute blood orange juice partially with grapefruit or tangerine juice for seasonal availability or flavor preference.
These tweaks keep the bars delicious and adaptable, perfect for food enthusiasts exploring new ideas.
Mastering Blood Orange Bars: Advanced Tips and Variations
Once you’re comfortable with the basics, it’s time to level up your blood orange bars with some pro tips. Think about how a few extras can make your bars even more special, like adding a crunch or a pop of color.
Have you ever experimented with flavors in baking? It’s a fun way to surprise your family or guests. Here’s how to take these bars from good to amazing.
Pro Cooking Techniques
For an even texture, use room temperature ingredients and fold the batter gently to avoid deflating it. This helps create that smooth, creamy filling everyone loves.
Flavor Variations
- Experiment with adding chopped pistachios or a drizzle of dark chocolate to complement the citrus.
Presentation Tips
- Serve bars with a dusting of powdered sugar, candied blood orange slices, or a sprig of fresh mint to enhance visual appeal.
Make-Ahead Options
- Prepare the batter in advance and store it refrigerated for up to 24 hours to bake fresh when needed or fully bake bars and freeze them individually wrapped for convenient snacks.
Adding these touches can make your bars stand out at any gathering.
How to Store Blood Orange Bars: Best Practices
Keeping your blood orange bars fresh is easy with the right storage methods. Whether you’re saving them for later or prepping ahead, these tips will help maintain that zesty flavor.
It’s all about making your treats last without losing what makes them special. Let’s keep things simple for your everyday life.
- Refrigeration: Store blood orange bars in an airtight container in the refrigerator for up to 5 days to maintain freshness.
- Freezing: Wrap individual bars tightly in plastic wrap and place in a freezer-safe bag for up to 3 months.
- Reheating: Thaw frozen bars overnight in the refrigerator before reheating briefly in a microwave or oven to preserve texture.
- Meal prep considerations: Portion bars in advance and store in airtight containers to facilitate quick grab-and-go snacks or desserts throughout the week.
These steps ensure your bars stay tasty and ready whenever you need a sweet pick-me-up.
FAQs: Frequently Asked Questions About Blood Orange Bars
How long can I store blood orange bars in the refrigerator?
Blood orange bars can be stored in the refrigerator for up to 4-5 days. To keep them fresh, first allow the bars to cool completely to room temperature. Then cover them tightly with plastic wrap or place them in an airtight container. Before serving, bringing them back to room temperature and dusting with powdered sugar will enhance their flavor and texture.
Can blood orange bars be frozen for later use?
Yes, blood orange bars freeze well for up to 2 months. After baking and cooling the bars completely, cut them into individual portions. Place the pieces on a baking sheet and freeze until firm, then wrap each bar in plastic wrap and store them in a freezer-safe bag. Thaw the bars in the refrigerator or at room temperature before serving, and add powdered sugar if desired.
Do blood orange bars need to be refrigerated if served the same day?
Blood orange bars contain a custard-like filling and can safely sit at room temperature for a few hours when serving on the same day. However, refrigerate them if you plan to keep them for longer than a few hours. Serving the bars chilled or at room temperature both work well depending on your preference.
What is the best way to cut blood orange bars without them crumbling?
To cut blood orange bars cleanly, chill them thoroughly after baking and cooling. Using a sharp knife, wipe the blade clean between cuts to prevent sticking. Cutting when the bars are cold helps maintain their shape and prevents crumbling, resulting in neat, presentable squares.
How do blood orange bars differ from traditional lemon bars in flavor and texture?
Blood orange bars have a unique sweet-tart flavor with hints of raspberry and berry notes, thanks to the blood oranges’ distinct taste. Their custard filling is similar to lemon bars but often slightly less tangy and more floral. The texture remains smooth and creamy with a buttery shortbread crust, making blood orange bars a flavorful twist on a classic dessert.
Blood Orange Bars
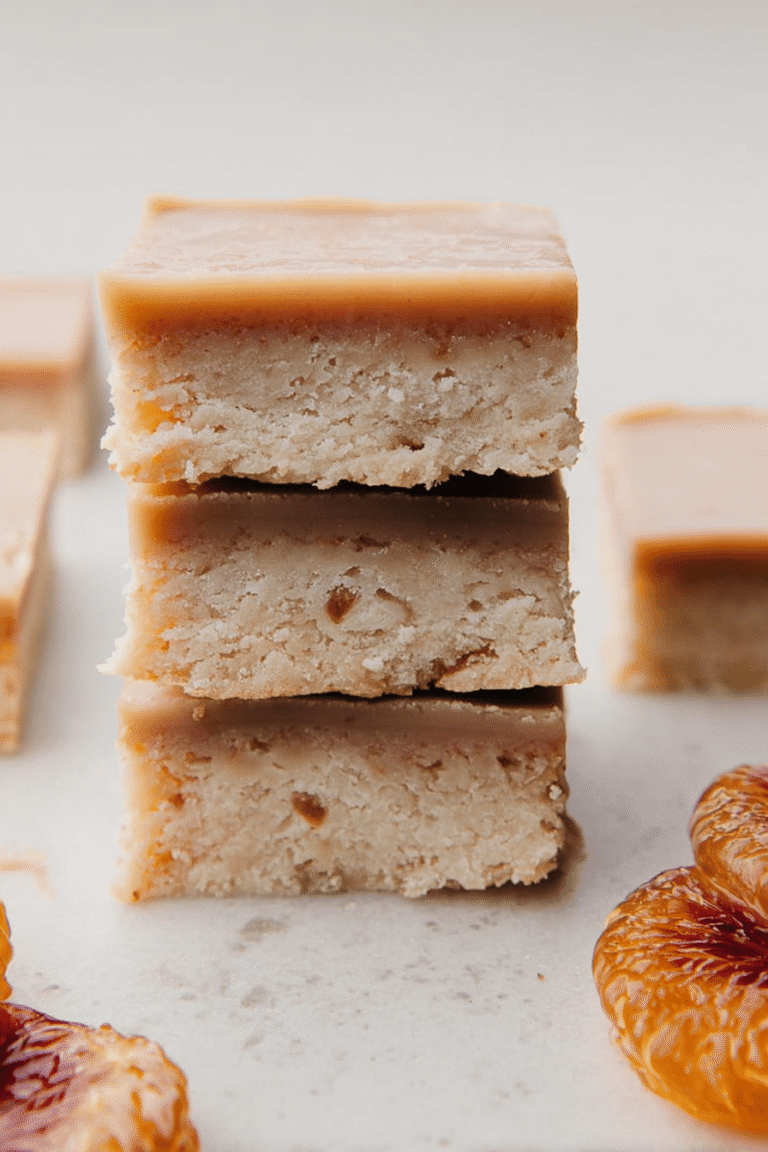
🍊 Enjoy the bright, zesty citrus flavor of blood oranges paired with a rich, buttery crust in these delightful bars.
🍴 Perfect for a refreshing dessert or snack, these bars offer a burst of fresh flavor with a smooth, tangy filling.
- Total Time: 1 hour 5 minutes
- Yield: 16 servings
Ingredients
– 1 ½ cups all-purpose flour
– ½ cup powdered sugar
– ¾ cup unsalted butter, softened
– 2 tablespoons blood orange zest (from 1 orange)
– ½ cup blood orange juice (from 2 oranges)
– 1 cup granulated sugar
– 2 tablespoons all-purpose flour
– ¼ teaspoon salt
– 2 large eggs
– Gel food coloring (optional, for color)
– ¼ cup powdered sugar for garnish
Instructions
1-Preheat the oven: Preheat the oven to 350 degrees and line an 8×8 pan with foil, then spray the foil with nonstick spray.
2-Mix the dough: Mix the flour, powdered sugar, and softened butter to form a soft dough, and press it evenly into the bottom of the prepared pan.
3-Bake the crust: Bake the crust for 25 minutes.
4-Prepare the filling: While the crust bakes, combine the blood orange zest, juice, granulated sugar, flour, salt, and eggs in a blender or food processor, and pulse until light and frothy.
5-Add color: If desired, add gel food coloring to enhance the color.
6-Bake the filling: After the crust is baked, briefly pulse the filling mixture again and pour it over the hot crust. Bake for an additional 25-30 minutes.
7-Cool the bars: Remove from the oven and cool completely to room temperature.
8-Finish with sugar: Sprinkle powdered sugar on top before serving.
9-Store and serve: If not serving immediately, cool and refrigerate; before serving chilled bars, blot the top and add powdered sugar.
Last Step:
Please leave a rating and comment letting us know how you liked this recipe! This helps our business to thrive and continue providing free, high-quality recipes for you.Notes
🍊 The filling will thicken as it bakes and cools; thinner layers before baking are normal.
🥄 Pulsing the filling while the crust bakes reduces air bubbles, resulting in a smoother texture.
🌈 Gel food coloring is optional to enhance color but not required.
- Prep Time: 20 minutes
- Cook Time: 45 minutes
- Category: Dessert, Baking
- Method: Baking
- Cuisine: American
Nutrition
- Serving Size: 1 bar
- Calories: 204
- Sugar: 18 g
- Sodium: 44 mg
- Fat: 9 g
- Saturated Fat: 6 g
- Unsaturated Fat: 3 g
- Trans Fat: 0 g
- Carbohydrates: 28 g
- Fiber: 0 g
- Protein: 2 g
- Cholesterol: 46 mg





