

Why You’ll Love These Honey Garlic Chicken Breasts
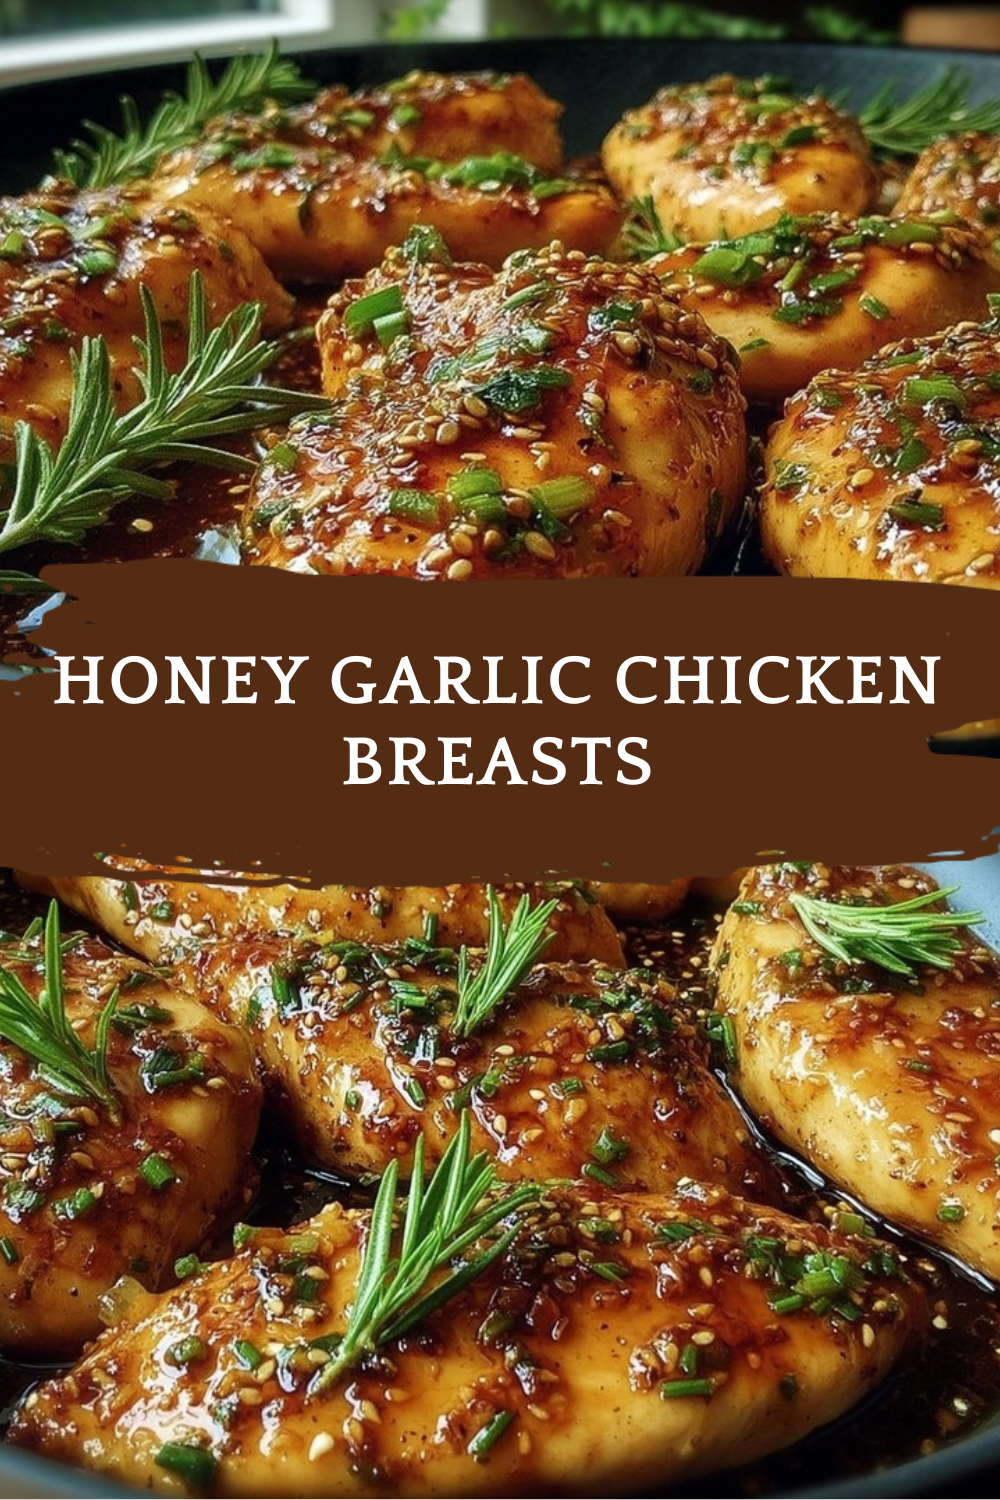
Honey Garlic Chicken Breasts are one of those back-pocket dinners that feel a little fancy but come together fast enough for a weeknight. With a prep time of just 4 minutes and a total cook time of 12 minutes, this recipe is perfect when you want something satisfying without spending all evening in the kitchen. If you like quick, flavorful meals, this one checks all the boxes.
- Easy to make: You only need a handful of pantry-friendly ingredients, and the method is simple. Slice, season, coat, sear, and simmer. That is really all it takes.
- Great for busy schedules: The chicken cooks in just a few minutes per side, which makes it ideal for busy parents, students, and working professionals.
- Balanced nutrition: Each 166g serving delivers 323 calories, 28g protein, and 23g carbohydrates, making it a smart option for people who want a filling meal without feeling weighed down.
- Big flavor, simple ingredients: The mix of honey, garlic, soy sauce, vinegar, and butter gives you sweet, savory, and tangy flavors in every bite.
Tip: This is the kind of recipe that works for a casual dinner, meal prep, or even a simple date-night meal at home.
If you enjoy easy chicken dinners like this, you may also like a sweet treat afterward such as classic apple crisp or bright and tangy lemon bars from Recipe Resource.
Jump to:
- Why You’ll Love These Honey Garlic Chicken Breasts
- Honey Garlic Chicken Breasts Ingredients
- How to Prepare the Perfect Honey Garlic Chicken Breasts: Step-by-Step Guide
- First Step: Slice and season the chicken
- Second Step: Coat the chicken in flour
- Third Step: Sear the chicken
- Fourth Step: Lower the heat and build the sauce
- Final Step: Coat the chicken and serve
- Dietary Substitutions to Customize Your Honey Garlic Chicken Breasts
- Protein and Main Component Alternatives
- Vegetable, Sauce, and Seasoning Modifications
- Mastering Honey Garlic Chicken Breasts: Advanced Tips and Variations
- Pro cooking techniques
- Flavor variations
- Presentation tips
- Make-ahead options
- How to Store Honey Garlic Chicken Breasts: Best Practices
- Nutrition Information for Honey Garlic Chicken Breasts
- FAQs: Frequently Asked Questions About Honey Garlic Chicken Breasts
- Honey Garlic Chicken Breasts
- Ingredients
- Instructions
- Last Step:
- Notes
- Nutrition
- Did you make this recipe?
Honey Garlic Chicken Breasts Ingredients
Here is everything you need for this recipe. The ingredient list below includes all measurements so you can get started without guessing.
- 500g or 1 lb boneless and skinless chicken breast, 2 pieces
- Salt and pepper, to taste
- 1/4 cup flour
- 3 1/2 tablespoons unsalted butter, or 2 1/2 tablespoons olive oil
- 2 garlic cloves, minced
- 1 1/2 tablespoons apple cider vinegar, or white vinegar
- 1 tablespoon soy sauce, light or all purpose
- 1/3 cup honey, or maple syrup
| Prep Time | Cook Time | Total Time | Servings |
|---|---|---|---|
| 4 minutes | 8 minutes | 12 minutes | 2 to 4 |
How to Prepare the Perfect Honey Garlic Chicken Breasts: Step-by-Step Guide
First Step: Slice and season the chicken
Start by cutting the chicken breasts in half horizontally so you end up with 4 thin steaks. This helps the chicken cook quickly and evenly, which is a big reason this recipe works so well on a busy night. Season both sides with salt and pepper.
Pat the chicken dry first if it seems wet. That small step helps the flour stick better and gives you a better golden crust later. If you are cooking for kids or anyone who prefers milder flavor, you can keep the seasoning simple here and let the sauce do the heavy lifting.
Second Step: Coat the chicken in flour
Spread the flour on a plate and lightly coat each chicken piece, then shake off the excess. You want a thin layer, not a heavy breading. That light dusting helps the chicken brown fast and gives the sauce something to cling to.
Dusting the chicken with flour is one of the little tricks that makes the final sauce stick better and taste richer.
If you need a gluten-free option, cornstarch works well too. The method stays the same, and the chicken still gets that lightly crisped surface.
Third Step: Sear the chicken
Melt most of the butter in a skillet over high heat. Once the pan is hot, add the chicken and cook for 2 to 3 minutes per side until golden. The goal here is not to fully cook the chicken yet. You are building color and flavor first.
A hot skillet matters. If the pan is too cool, the chicken can turn pale and soggy instead of browned. Cook in batches if needed so the pieces are not crowded. Crowding traps steam and works against that nice sear.
Fourth Step: Lower the heat and build the sauce
Reduce the heat to medium-high. Add the garlic and the remaining butter to the pan, then stir for about 20 to 30 seconds until the garlic smells fragrant. After that, add the vinegar, soy sauce, and honey.
Stir everything together and let it simmer for 1 minute until the sauce thickens slightly. This is where the dish turns from simple pan-fried chicken into that sticky, glossy honey garlic favorite people always ask for again. If the sauce gets too thick, add a splash of water and stir it in.
Final Step: Coat the chicken and serve
Return the chicken to the pan if needed and spoon the sauce over each piece until it is well coated. As soon as the chicken is nicely glazed and the sauce looks silky, remove the pan from the heat. Serve right away while the chicken is hot and the sauce is glossy.
This dish pairs well with rice, mashed potatoes, steamed vegetables, or a simple salad. For a bigger meal spread, serve it with a side from your favorite comfort-food recipes, then finish with something sweet like white chocolate cranberry cookies.

Dietary Substitutions to Customize Your Honey Garlic Chicken Breasts
Protein and Main Component Alternatives
This recipe is flexible, so it can fit a few different diets and grocery situations. If you do not have chicken breasts, you can use beef, pork, lamb, prawns, shrimp, or tofu. Just adjust the cook time based on the protein you choose.
- Beef or pork: Slice thinly and cook until just done.
- Lamb: Use thin cutlets for quicker cooking.
- Prawns or shrimp: Cook very fast, usually just a few minutes total.
- Tofu: Press it first so it browns better and holds the sauce.
Vegetable, Sauce, and Seasoning Modifications
You can also tweak the sauce to match your taste. If you want a stronger savory note, add a bit more soy sauce. If you like sharper flavor, add extra vinegar. For a bolder garlic kick, mince another clove or two.
For the butter, olive oil is a solid swap if you want something a little lighter. Maple syrup can stand in for honey if that is what you have on hand. And if the sauce thickens too much while it simmers, just stir in a little water until it loosens again.
Mastering Honey Garlic Chicken Breasts: Advanced Tips and Variations
Pro cooking techniques
For the best texture, keep the chicken pieces even in thickness. That is why slicing the breasts into thin cutlets matters so much. It helps everything cook at the same pace and keeps the inside juicy.
Another smart move is to let the pan get hot before adding the chicken. A proper sear gives you that golden crust, which adds flavor and gives the sauce a better base. If your skillet is small, cook the chicken in two rounds instead of crowding the pan.
Flavor variations
You can play with the sauce in a few easy ways. Add a touch more garlic for a sharper bite, more soy sauce for deeper savoriness, or a little extra honey if you like it sweeter. A pinch of chili flakes also works well if your crowd likes a little heat.
If you want the recipe to feel a bit richer, use butter instead of olive oil. If you want a lighter finish, olive oil keeps the dish tasty without changing the method much.
Presentation tips
Serve the chicken over fluffy rice or next to roasted vegetables, then spoon the extra sauce over the top. A simple sprinkle of chopped parsley or green onions can make the plate look fresh and inviting. For family-style serving, place the chicken on a platter and pour the sauce over it right before bringing it to the table.
Make-ahead options
You can mix the sauce ingredients ahead of time and store them in the fridge, which saves a few minutes when dinner time rolls around. You can also slice and season the chicken earlier in the day. That way, when it is time to cook, you only need a skillet and about 12 minutes.
How to Store Honey Garlic Chicken Breasts: Best Practices
Leftovers store well, which makes this recipe a solid choice for meal prep. Let the chicken cool before packing it up, then place it in an airtight container.
- Refrigeration: Store in the fridge for up to 3 to 4 days.
- Freezing: Freeze in a sealed container or freezer bag for up to 2 months. Add a little sauce so the chicken stays moist.
- Reheating: Warm gently in a skillet over low heat or in the microwave in short bursts. Add a splash of water if the sauce has thickened.
- Meal prep: Pack with rice, noodles, or vegetables for quick lunches and dinners during the week.
If you want a deeper look at chicken as a lean protein, this WebMD guide to the health benefits of chicken is a helpful read. For more on honey and its role in recipes, the Mayo Clinic overview of honey offers useful background.
Nutrition Information for Honey Garlic Chicken Breasts
Per serving of 166g, this dish contains 323 calories, 23g carbohydrates, 28g protein, 13g fat, 7g saturated fat, 107mg cholesterol, 400mg sodium, 486mg potassium, 21g sugar, 350IU vitamin A, 2mg vitamin C, 12mg calcium, and 1mg iron. That makes it a strong option when you want something flavorful with plenty of protein.
For many home cooks, the sweet spot is a meal that tastes comforting but still fits into a balanced weeknight routine. This one does both.
FAQs: Frequently Asked Questions About Honey Garlic Chicken Breasts
Print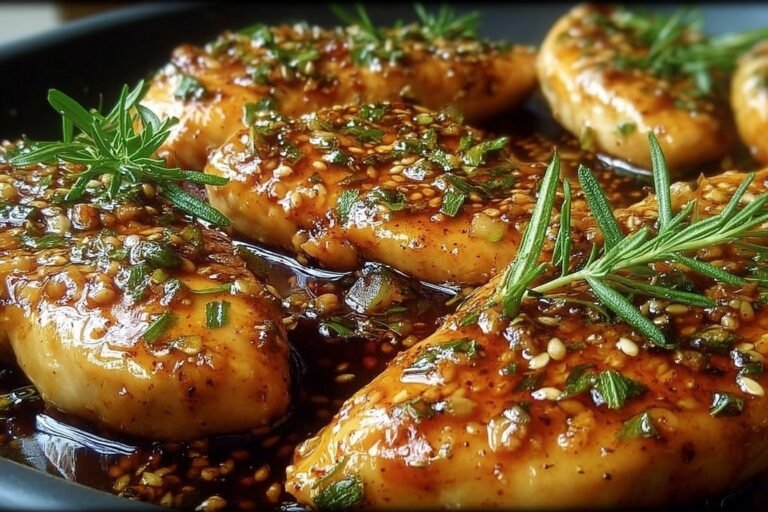
Honey Garlic Chicken Breasts
🍗 Juicy seared chicken breasts in glossy honey-garlic sauce – addictive sweet-savory glaze in just 12 minutes!
🧄 Crispy flour-dusted exterior clings to sticky sauce perfectly; family favorite beats takeout every time.
- Total Time: 12 minutes
- Yield: 4 servings
Ingredients
Instructions
1-First Step: Slice and season the chicken Start by cutting the chicken breasts in half horizontally so you end up with 4 thin steaks. This helps the chicken cook quickly and evenly, which is a big reason this recipe works so well on a busy night. Season both sides with salt and pepper. Pat the chicken dry first if it seems wet. That small step helps the flour stick better and gives you a better golden crust later. If you are cooking for kids or anyone who prefers milder flavor, you can keep the seasoning simple here and let the sauce do the heavy lifting.
2-Second Step: Coat the chicken in flour Spread the flour on a plate and lightly coat each chicken piece, then shake off the excess. You want a thin layer, not a heavy breading. That light dusting helps the chicken brown fast and gives the sauce something to cling to. Dusting the chicken with flour is one of the little tricks that makes the final sauce stick better and taste richer. If you need a gluten-free option, cornstarch works well too. The method stays the same, and the chicken still gets that lightly crisped surface.
3-Third Step: Sear the chicken Melt most of the butter in a skillet over high heat. Once the pan is hot, add the chicken and cook for 2 to 3 minutes per side until golden. The goal here is not to fully cook the chicken yet. You are building color and flavor first. A hot skillet matters. If the pan is too cool, the chicken can turn pale and soggy instead of browned. Cook in batches if needed so the pieces are not crowded. Crowding traps steam and works against that nice sear.
4-Fourth Step: Lower the heat and build the sauce Reduce the heat to medium-high. Add the garlic and the remaining butter to the pan, then stir for about 20 to 30 seconds until the garlic smells fragrant. After that, add the vinegar, soy sauce, and honey. Stir everything together and let it simmer for 1 minute until the sauce thickens slightly. This is where the dish turns from simple pan-fried chicken into that sticky, glossy honey garlic favorite people always ask for again. If the sauce gets too thick, add a splash of water and stir it in.
5-Final Step: Coat the chicken and serve Return the chicken to the pan if needed and spoon the sauce over each piece until it is well coated. As soon as the chicken is nicely glazed and the sauce looks silky, remove the pan from the heat. Serve right away while the chicken is hot and the sauce is glossy. This dish pairs well with rice, mashed potatoes, steamed vegetables, or a simple salad. For a bigger meal spread, serve it with a side from your favorite comfort-food recipes, then finish with something sweet like white chocolate cranberry cookies.
Last Step:
Please leave a rating and comment letting us know how you liked this recipe! This helps our business to thrive and continue providing free, high-quality recipes for you.Notes
🌾 Flour dusting creates crust that sauce adheres to perfectly.
🧄 Sauté garlic briefly to avoid burning for best flavor.
⏱️ High-heat sear locks juices; don’t skip for tenderness.
- Prep Time: 4 minutes
- Cook Time: 8 minutes
- Category: Main Course
- Method: Pan-Fry
- Cuisine: Asian-Inspired
- Diet: Gluten-Free (use cornstarch)
Nutrition
- Serving Size: 166g (1 steak)
- Calories: 323 kcal
- Sugar: 21g
- Sodium: 400mg
- Fat: 13g
- Saturated Fat: 7g
- Unsaturated Fat: 6g
- Trans Fat: 0g
- Carbohydrates: 23g
- Fiber: 0g
- Protein: 28g
- Cholesterol: 107mg





