

Why You’ll Love This Mini Cookie Cups
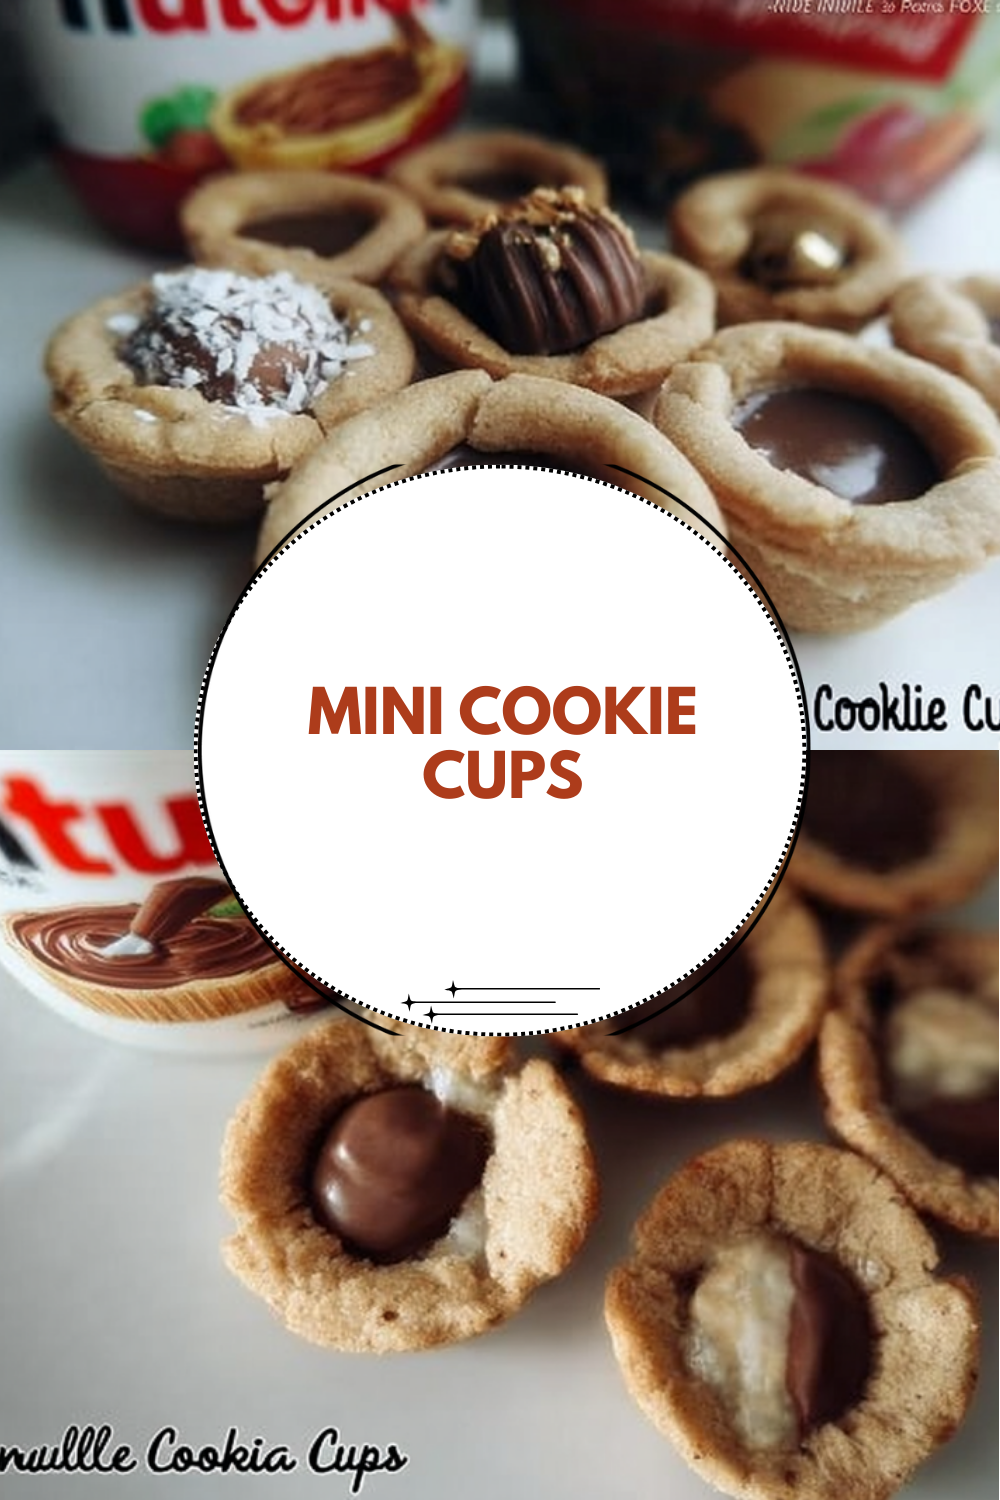
Picture this: tiny, irresistible bites of heaven that blend soft, chewy textures with the classic charm of chocolate chip cookies. Mini Cookie Cups are baked in a mini muffin tin, making them perfect for filling with your favorite treats like frosting or ice cream. Let’s dive into what makes this recipe a game-changer for home bakers everywhere.
First off, these cookie cups are a breeze to whip up, fitting seamlessly into your busy day. You can have a batch ready in under an hour of active time, which is ideal for busy parents or students looking for quick desserts. Plus, they’re versatile enough to adapt to various dietary needs, adding to their appeal for food enthusiasts and health-conscious folks alike.
- Ease of preparation: This recipe uses simple steps that anyone can follow, even if you’re new to baking. With ingredients you likely have on hand, you’ll spend less time prepping and more time enjoying the results, making it great for working professionals and busy parents.
- Health benefits: Mini Cookie Cups can be tweaked for better nutrition, like using mini chocolate chips that pack flavor without excess calories. They’re a fun way to include whole grains or reduce sugar, appealing to diet-conscious individuals and seniors who want treats without guilt.
- Versatility: Whether you’re hosting a party or packing snacks for travel, these cups work for all occasions. You can swap ingredients for vegan or gluten-free options, which is perfect for newlyweds experimenting in the kitchen or baking enthusiasts customizing for friends.
- Distinctive flavor: The combination of soft, chewy dough and melted chocolate chips creates a standout taste that’s hard to resist. They’re fillable with endless toppings, turning a simple cookie into a personalized delight that’s sure to impress party hosts and entertainment enthusiasts.
These features make Mini Cookie Cups more than just a dessert they’re a smart choice for anyone seeking fun, flexible baking. Stick around, and you’ll see why this recipe might become your go-to for gatherings or quiet nights in.
Jump to:
- Why You’ll Love This Mini Cookie Cups
- Essential Ingredients for Mini Cookie Cups
- Main Ingredients
- Special Dietary Options
- How to Prepare the Perfect Mini Cookie Cups: Step-by-Step Guide
- First Step: Prepare Your Ingredients
- Second Step: Cream the Butter and Sugars
- Third Step: Add Eggs and Vanilla
- Fourth Step: Incorporate Dry Ingredients
- Fifth Step: Chill the Dough
- Sixth Step: Portion and Bake
- Seventh Step: Shape and Cool
- Final Step: Loosen and Fill
- Dietary Substitutions to Customize Your Mini Cookie Cups
- Protein and Main Component Alternatives
- Vegetable, Sauce, and Seasoning Modifications
- Mastering Mini Cookie Cups: Advanced Tips and Variations
- Pro Cooking Techniques
- Flavor Variations
- Presentation Tips
- Make-Ahead Options
- How to Store Mini Cookie Cups: Best Practices
- FAQs: Frequently Asked Questions About Mini Cookie Cups
- Mini Cookie Cups
- Ingredients
- Instructions
- Last Step:
- Notes
- Nutrition
- Did you make this recipe?
Essential Ingredients for Mini Cookie Cups
Gathering the right ingredients is key to nailing these Mini Cookie Cups. Each one plays a role in creating that perfect soft and chewy texture. Below, I’ve listed everything you need with exact measurements and a quick explanation of why they’re important.
Main Ingredients
- 1 cup (2 sticks) unsalted butter – This provides the rich, creamy base that makes the dough fluffy and gives the cups their signature chewiness.
- 3/4 cup sugar – Adds sweetness and helps with browning, ensuring a delightful crisp on the edges.
- 3/4 cup packed light brown sugar – Brings moisture and a deep, caramel-like flavor that enhances the overall taste of the Mini Cookie Cups.
- 2 large eggs – These bind the ingredients together and add structure, making the cups hold their shape while baking.
- 2 teaspoons vanilla extract – Infuses a warm, aromatic note that elevates the flavor profile of the entire batch.
- 2 1/4 cups all-purpose flour – Forms the foundation of the dough, providing the necessary gluten for that perfect texture in Mini Cookie Cups.
- 1 teaspoon baking soda – Acts as a leavening agent to help the cups rise and become light and airy.
- 1 teaspoon salt – Balances the sweetness and enhances the chocolate flavors, ensuring every bite is just right.
- 3/4 cup mini chocolate chips – These little gems melt beautifully and add bursts of chocolate throughout, making the cups extra fun and fillable.
- Desired filling (amount as needed) – Whether it’s frosting, ice cream, or ganache, this lets you customize your Mini Cookie Cups for endless variations.
Special Dietary Options
You can easily adapt this recipe for different needs. For vegan swaps, use plant-based butter and a flax egg substitute to keep things dairy-free. Gluten-free options include swapping all-purpose flour with a gluten-free blend to maintain that chewy consistency. If you’re watching calories, reduce sugar amounts or opt for low-sugar chocolate chips to lighten things up without losing flavor.
How to Prepare the Perfect Mini Cookie Cups: Step-by-Step Guide
Ready to bake some magic? These Mini Cookie Cups are all about simple steps that lead to big smiles. We’ll start with prepping your ingredients and end with filling those adorable cups. Grab your mini muffin tin and let’s get started it’ll be a blast!
First Step: Prepare Your Ingredients
Start by pulling out all your ingredients so everything is ready to go. Measure 1 cup unsalted butter, 3/4 cup sugar, and 3/4 cup packed light brown sugar into a mixing bowl. This mise en place keeps things organized and prevents any mid-recipe scrambles, especially if you’re a busy parent juggling multiple tasks.
Second Step: Cream the Butter and Sugars
Using a mixer, cream the butter, sugar, and brown sugar together until the mixture is light and fluffy. This usually takes about 2-3 minutes on medium speed. Beating them well incorporates air, which helps give your Mini Cookie Cups that soft, chewy texture we all love.
Third Step: Add Eggs and Vanilla
Beat in the 2 large eggs one at a time, followed by the 2 teaspoons of vanilla extract. Mix until everything is fully combined. This step binds the ingredients and adds moisture, ensuring your dough comes together smoothly for perfect Mini Cookie Cups.
Fourth Step: Incorporate Dry Ingredients
In a separate bowl, whisk together 2 1/4 cups all-purpose flour, 1 teaspoon baking soda, and 1 teaspoon salt. Gradually add this to your wet mixture, stirring until just combined. Then, fold in the 3/4 cup mini chocolate chips. Check out similar chocolate treats here for more inspiration on using chocolate chips effectively.
Fifth Step: Chill the Dough
Refrigerate the dough for at least 1 hour to firm it up. This step is crucial as it prevents the cups from spreading too much in the oven, helping maintain that ideal shape for your Mini Cookie Cups.
Sixth Step: Portion and Bake
Preheat your oven to 350°F and grease your mini muffin tin well. Scoop 1 tablespoon of dough into each cup. Bake for 10-13 minutes until the edges are crisp and golden. As they bake, the mini chocolate chips will melt just right, creating those fillable centers.
Seventh Step: Shape and Cool
Right after baking, lightly press the centers of the cups while they’re still warm to create a deeper pocket for fillings. Let them cool completely in the tin for about 10 minutes. This allows the Mini Cookie Cups to set properly without crumbling.
Final Step: Loosen and Fill
Use a knife to loosen the cups from the tin, then transfer them to a wire rack. Once cooled, fill them with your desired topping like frosting or ice cream. Serve immediately for the best taste, and enjoy how these Mini Cookie Cups elevate any dessert spread. For more mini dessert ideas, explore favorite mini desserts online.
| Step | Time Estimate | Tips |
|---|---|---|
| Chilling Dough | 1 hour | Don’t skip this for better shape. |
| Baking | 10-13 minutes | Watch closely to avoid over-baking. |
| Cooling | 10 minutes | Helps with easy removal. |
This guide yields about 42 servings, perfect for sharing. Now you’re set to impress with your homemade Mini Cookie Cups!

Dietary Substitutions to Customize Your Mini Cookie Cups
Protein and Main Component Alternatives
Swapping out main ingredients can make these Mini Cookie Cups fit any diet. For instance, if you’re out of all-purpose flour, try a one-to-one gluten-free blend to keep the texture light and chewy. You could also use almond flour for a nuttier flavor, which works well for those with gluten sensitivities.
Vegetable, Sauce, and Seasoning Modifications
Feel free to tweak the fillings or add-ins based on what you have. Instead of traditional frosting, opt for a fruit-based sauce for a fresher twist, especially in summer. For seasonings, experiment with cinnamon or nuts to match seasonal preferences, making your Mini Cookie Cups even more adaptable for travelers or party hosts.
Mastering Mini Cookie Cups: Advanced Tips and Variations
Pro Cooking Techniques
To get pro results, always grease your pans well to avoid sticking. Use a cookie scoop for even portions, ensuring each Mini Cookie Cup bakes uniformly. These tricks can make a big difference for baking enthusiasts aiming for perfection.
Flavor Variations
Shake things up by adding nuts or dried fruits to the dough for new tastes. Try a peppermint version for holidays, or explore banana variations here to mix it up. This keeps your Mini Cookie Cups exciting for every occasion.
Presentation Tips
Garnish with a sprinkle of sea salt or fresh berries to make them pop. Arrange on a platter for parties to wow your guests, turning simple bakes into eye-catching treats.
Make-Ahead Options
Prep the dough in advance and freeze it for up to a month. Just adjust bake time when using frozen dough, which is ideal for working professionals with tight schedules.
How to Store Mini Cookie Cups: Best Practices
Keeping your Mini Cookie Cups fresh is easy with the right methods. Store them properly to maintain that soft, chewy goodness for days.
- Refrigeration: Keep them in an airtight container in the fridge for up to 5 days to preserve moisture.
- Freezing: For longer storage, freeze in a single layer then transfer to a bag; they last up to 3 months.
- Reheating: Warm in the oven at 300°F for a few minutes to refresh the texture without losing flavor.
- Meal Prep Considerations: Bake in batches for easy grab-and-go snacks, perfect for busy parents or students.
This way, you always have delicious Mini Cookie Cups on hand.
FAQs: Frequently Asked Questions About Mini Cookie Cups
Print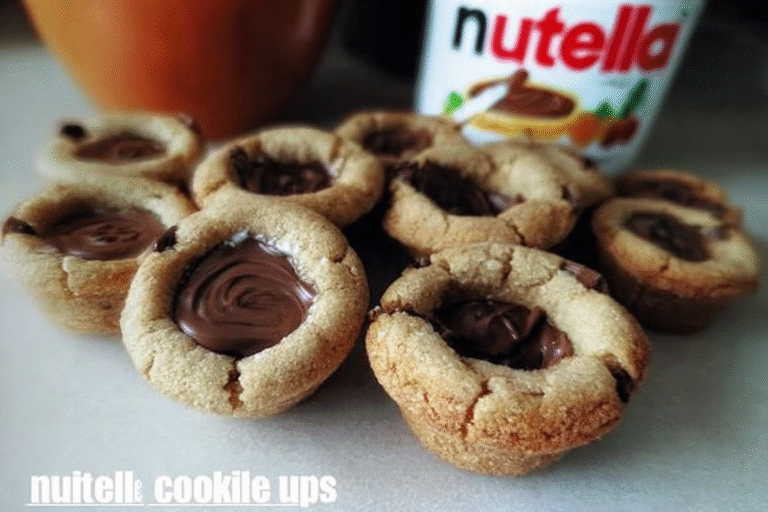
Mini Cookie Cups
🧁 These perfect chocolate chip cookie cups deliver soft, chewy centers with crispy edges ready for your favorite fillings.
🍪 Perfect bite-sized treats that are endlessly customizable – fill with frosting, ice cream, or ganache for party-perfect desserts.
- Total Time: 1 hour 32 minutes
- Yield: 42 servings
Ingredients
– 1 cup (2 sticks) unsalted butter for providing the rich, creamy base
– 3/4 cup sugar for adding sweetness and helping with browning
– 3/4 cup packed light brown sugar for bringing moisture and a deep, caramel-like flavor
– 2 large eggs for binding the ingredients together and adding structure
– 2 teaspoons vanilla extract for infusing a warm, aromatic note
– 2 1/4 cups all-purpose flour for forming the foundation of the dough
– 1 teaspoon baking soda for acting as a leavening agent
– 1 teaspoon salt for balancing the sweetness and enhancing the chocolate flavors
– 3/4 cup mini chocolate chips for melting beautifully and adding bursts of chocolate
– Desired filling for customizing Mini Cookie Cups
Instructions
1-First Step: Prepare Your Ingredients Start by pulling out all your ingredients so everything is ready to go. Measure 1 cup unsalted butter, 3/4 cup sugar, and 3/4 cup packed light brown sugar into a mixing bowl. This mise en place keeps things organized and prevents any mid-recipe scrambles, especially if you’re a busy parent juggling multiple tasks.
2-Second Step: Cream the Butter and Sugars Using a mixer, cream the butter, sugar, and brown sugar together until the mixture is light and fluffy. This usually takes about 2-3 minutes on medium speed. Beating them well incorporates air, which helps give your Mini Cookie Cup that soft, chewy texture we all love.
3-Third Step: Add Eggs and Vanilla Beat in the 2 large eggs one at a time, followed by the 2 teaspoons of vanilla extract. Mix until everything is fully combined. This step binds the ingredients and adds moisture, ensuring your dough comes together smoothly for perfect Mini Cookie Cups.
4-Fourth Step: Incorporate Dry Ingredients In a separate bowl, whisk together 2 1/4 cups all-purpose flour, 1 teaspoon baking soda, and 1 teaspoon salt. Gradually add this to your wet mixture, stirring until just combined. Then, fold in the 3/4 cup mini chocolate chips. Check out similar chocolate treats here for more inspiration on using chocolate chips effectively.
5-Fifth Step: Chill the Dough Refrigerate the dough for at least 1 hour to firm it up. This step is crucial as it prevents the cup from spreading too much in the oven, helping maintain that ideal shape for your Mini Cookie Cup.
6-Sixth Step: Portion and Bake Preheat your oven to 350°F and grease your mini muffin tin well. Scoop 1 tablespoon of dough into each cup. Bake for 10-13 minutes until the edges are crisp and golden. As they bake, the mini chocolate chips will melt just right, creating those fillable centers.
7-Seventh Step: Shape and Cool Right after baking, lightly press the centers of the cup while they’re still warm to create a deeper pocket for fillings. Let them cool completely in the tin for about 10 minutes. This allows the Mini Cookie Cups to set properly without crumbling.
8-Final Step: Loosen and Fill Use a knife to loosen the cup from the tin, then transfer them to a wire rack. Once cooled, fill them with your desired topping like frosting or ice cream. Serve immediately for the best taste, and enjoy how these Mini Cookie Cups elevate any dessert spread. For more mini dessert ideas, explore favorite mini desserts online.
Last Step:
Please leave a rating and comment letting us know how you liked this recipe! This helps our business to thrive and continue providing free, high-quality recipes for you.Notes
🧁 Use mini chocolate chips for best distribution throughout dough – regular sized chips are too large for these tiny cups.
🍪 Press centers immediately while warm – waiting too long makes dough firm and difficult to shape into cups.
⏱️ Refrigerate dough for at least 1 hour – this prevents spreading and helps maintain the perfect cup shape during baking.
- Prep Time: 20 minutes
- Chill Time: 1 hour
- Cook Time: 12 minutes
- Category: Dessert
- Method: Baking
- Cuisine: American
- Diet: Regular
Nutrition
- Serving Size: 1 cookie cup
- Calories: 120
- Sugar: 12
- Sodium: 85
- Fat: 6
- Saturated Fat: 3.5
- Unsaturated Fat: 2.5
- Trans Fat: 0
- Carbohydrates: 16
- Fiber: 0.5
- Protein: 1.5
- Cholesterol: 20





